
- Open any Rpd in offline mode.
- Goto Manage > Projects
We can get the Project Manager
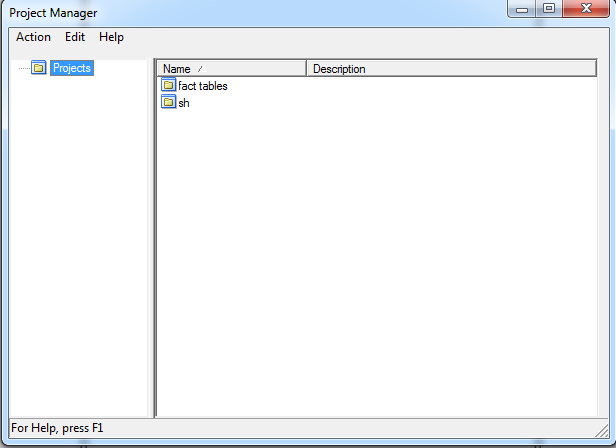
- Click Action > new project
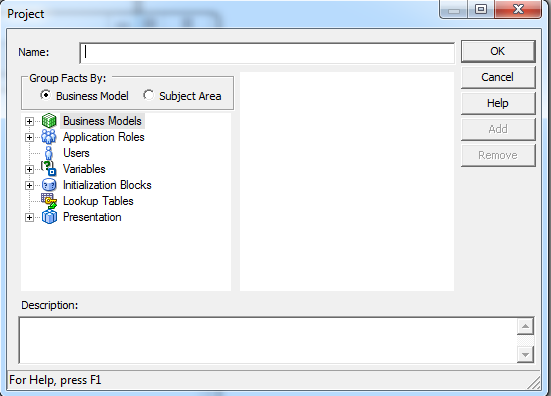
4. Give any name in the project name box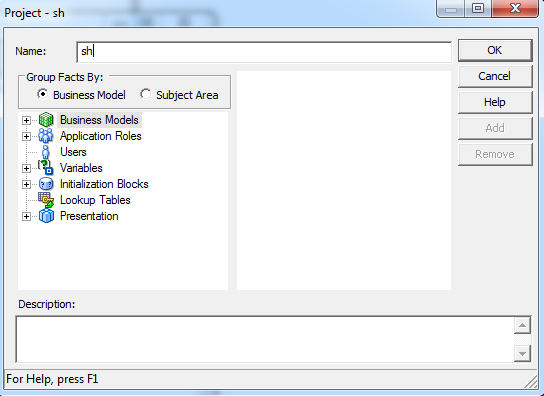
5. Expand the Subject Area and select any measure column by click > Add.
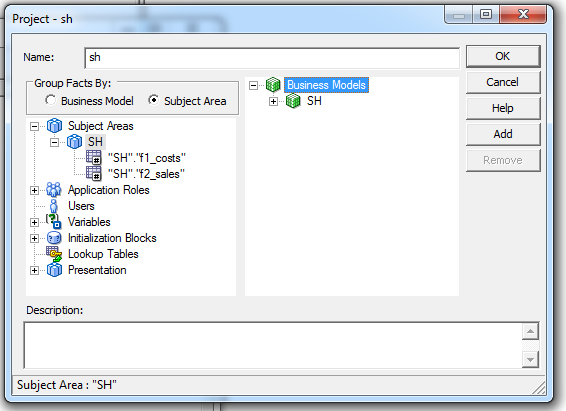
6. Expand the Presentation and select any schema click > Add.
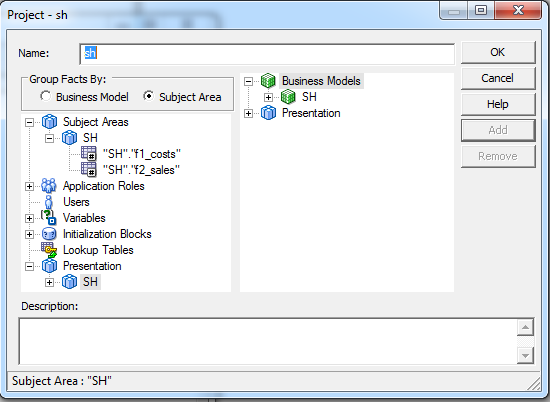
Then click ok to save the project.
7. Then close the Project Manager.
8. Close the RPD also.
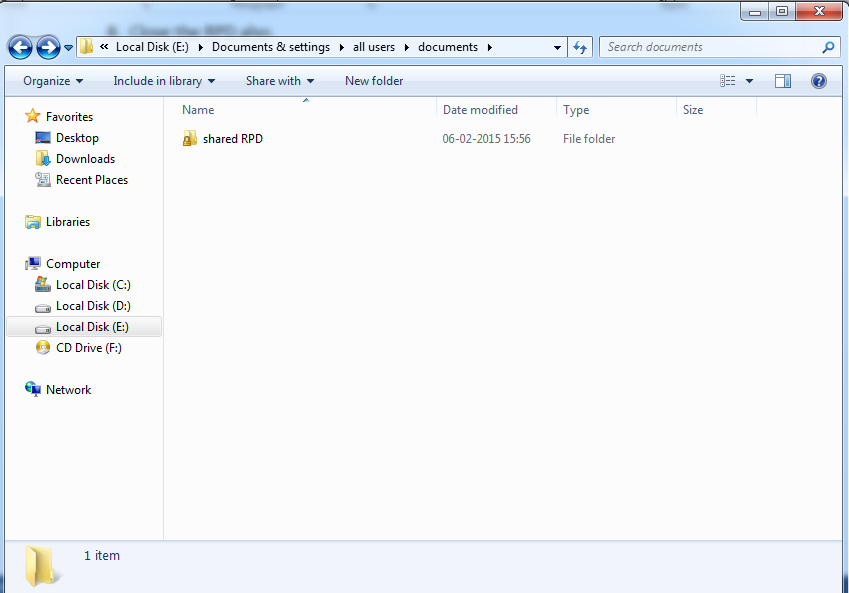
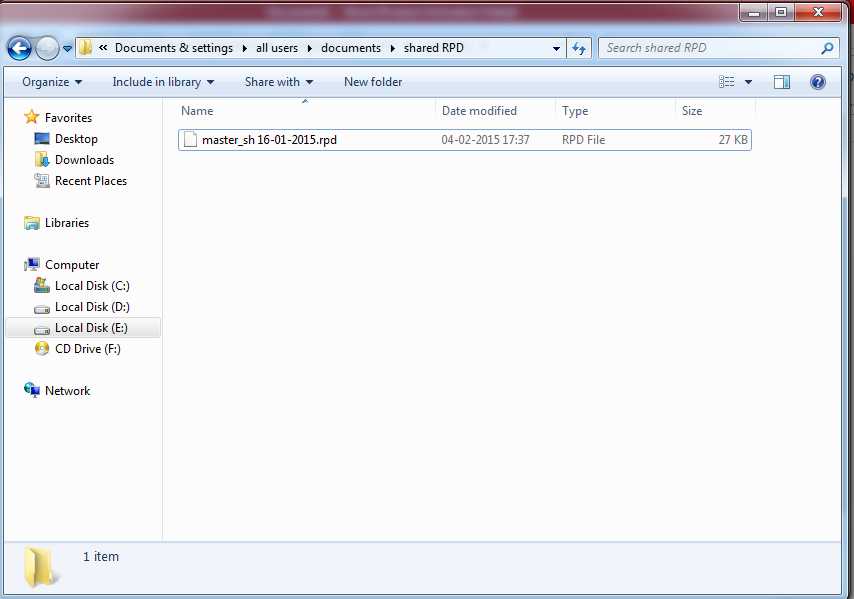
9. We can create the new folder in any drives like below figure.
10. Right click on the folder > Properties
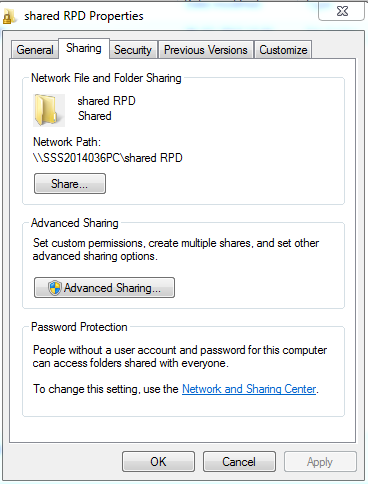
Then goto > sharing > click share
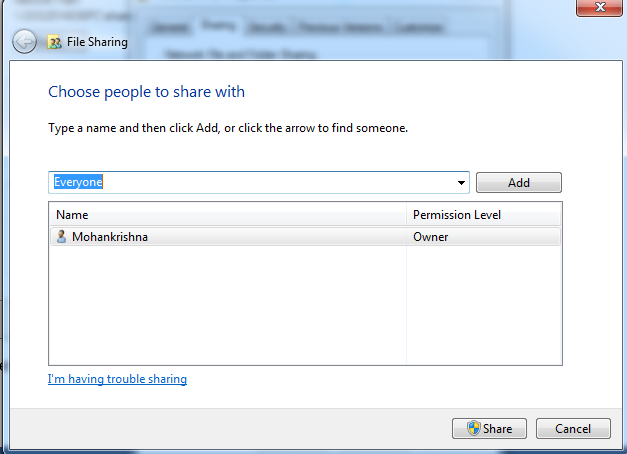
11. Then click Add > put ‘Everyone’ and click share.
12. click Done, then close that Properties.
13. Copy that RPD from default Repository folder and paste into recently
Created folder and rename that RPD as below.
14. Now open the Administration Tool and Goto > Tools > Options >
Multiuser.
15. Assign that recently created folder in Multi user directory with browse
And also give the name as administrator.
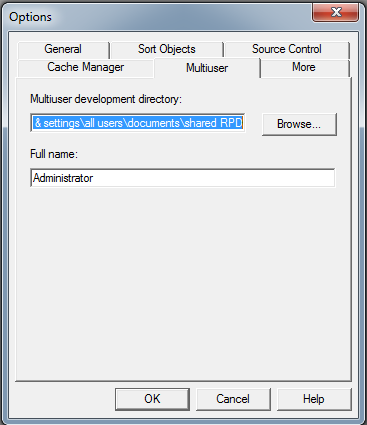
16. Click OK.
17. Open Administration Tool and Goto file > multi user > checkout.
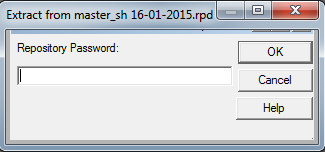
Then give the password as Admin123 and click OK.
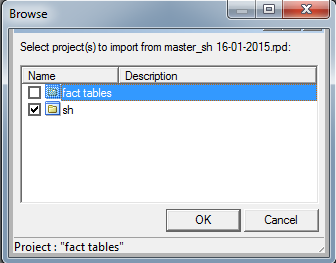
18. Then select that Project and click OK.
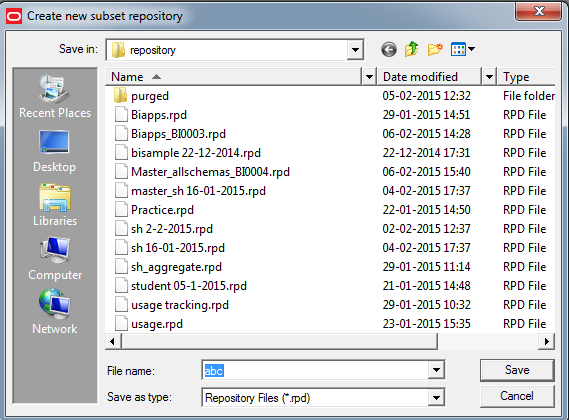
19. Save this RPD with any name in Repository folder.
20. The New RPD opens automatically.

21. Change any modifications or create new schema also.
22. After finishing modification Click file > multiuser > publish to network
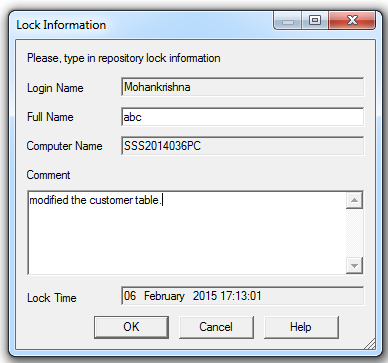
23. We can change full name as Repository name and also fill the comment.
24. Then click OK.
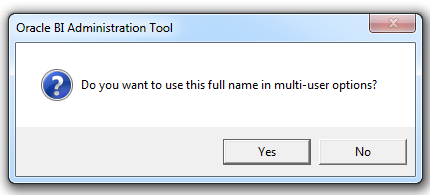
Then click Yes to changes.
25. And appears the merge then put ‘By property’ on decision
And select current and click ‘Finish’.
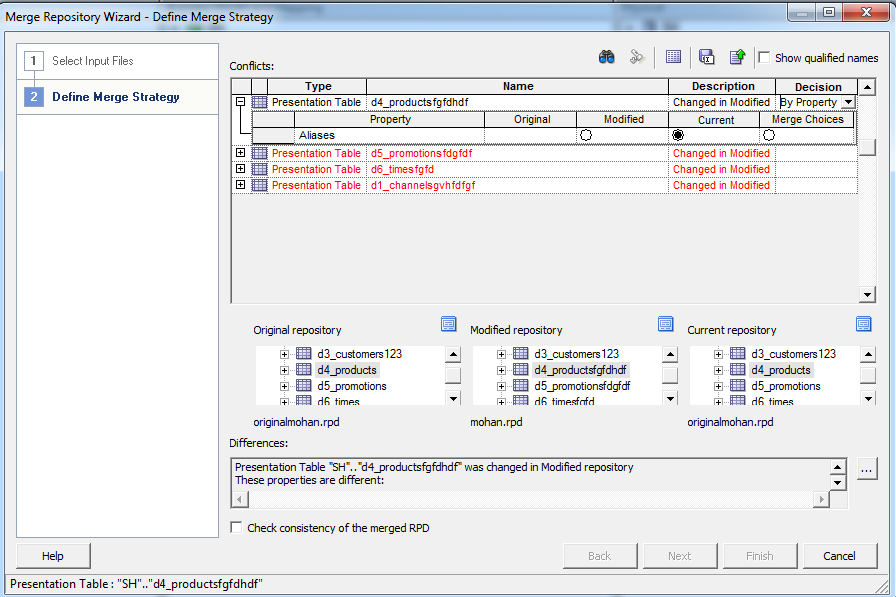
26. That is automatically merge in master repository ( In recently created
Folder).
27. If you want another RPD for modifying the master RPD.
28. Again goto Administration Tools and click FILE > multiuser > checkout
And do the same process as above.
29. Goto recently created folder open the master repository and check the
Modifications.
30. Then open Administration Tool and click FILE > multiuser > History,
To get the how many modifications done.
31. After finishing master repository we can deploy in EM.
No comments:
Post a Comment