
For Integrating OBIEE with APEX, follow these steps:
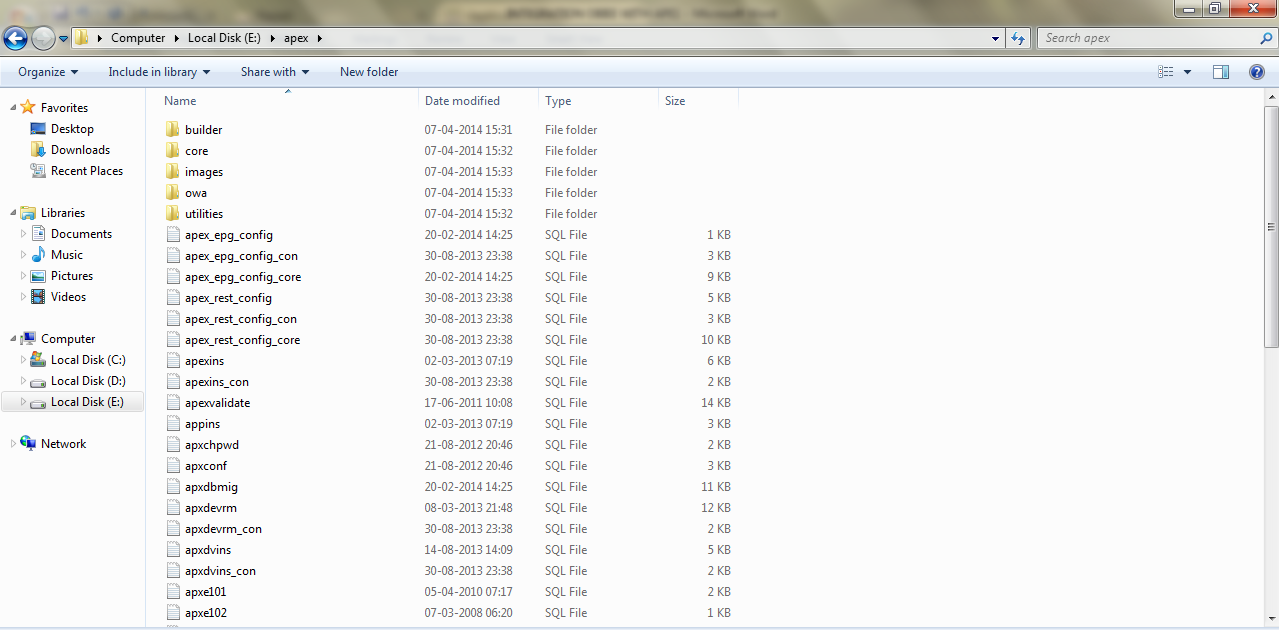
- Download the APEX ZIP from Oracle Website and extract it
- After Extracting APEX ZIP
- Give the command prompt which is shown below screen shot

Then run the command as follows
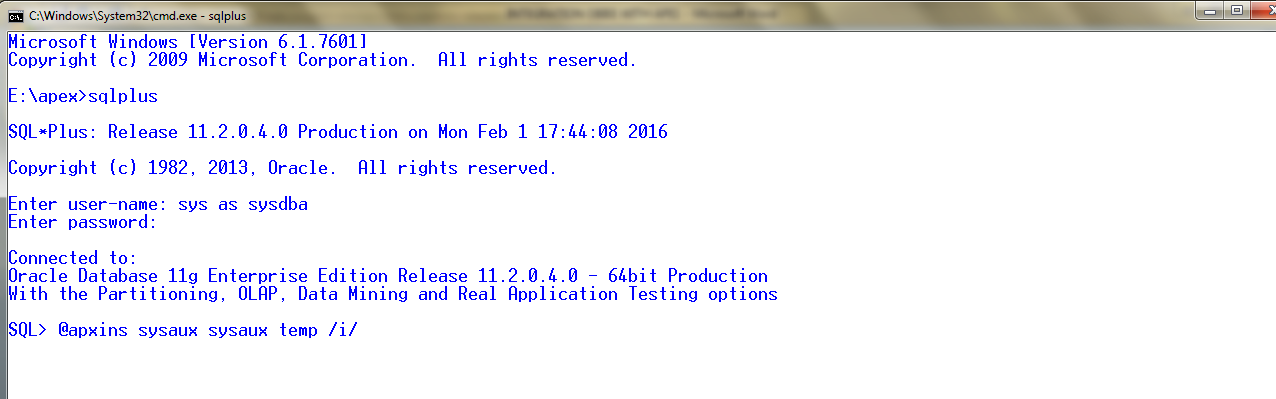
After running above command, give the command as follows then only all images will load

After running above command, just run the follow command so that we can give the password, Port number.

In this case we gave password as? Welcome123 and the port number is 9800 and then give the url here in this cas
WORKSPACE: INTERNAL
USER: ADMIN
PASSWORD: ?Welcome123
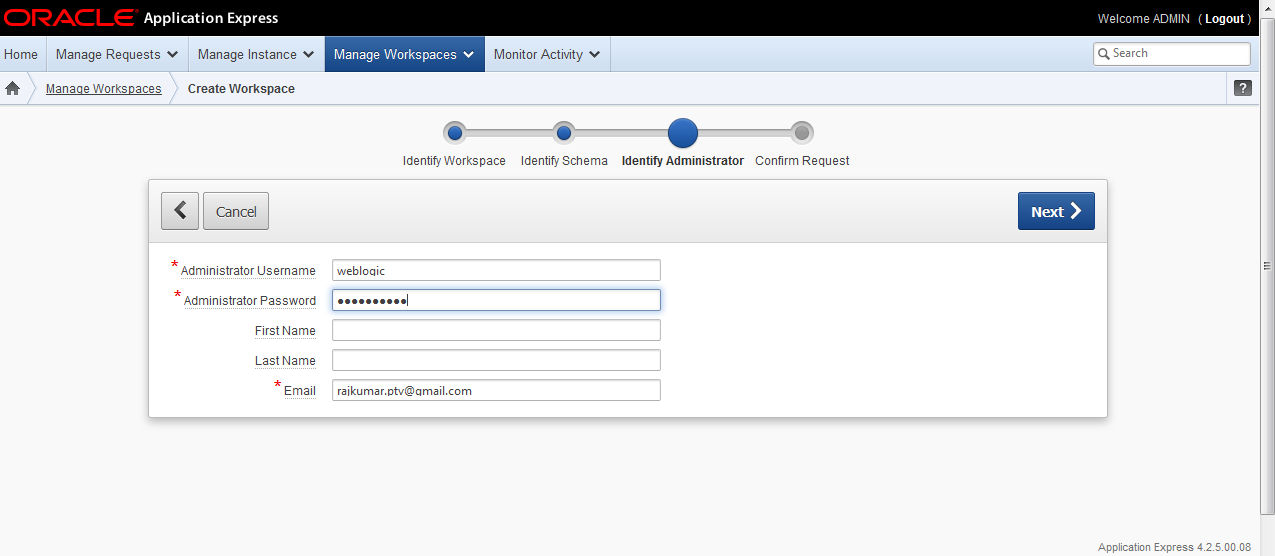
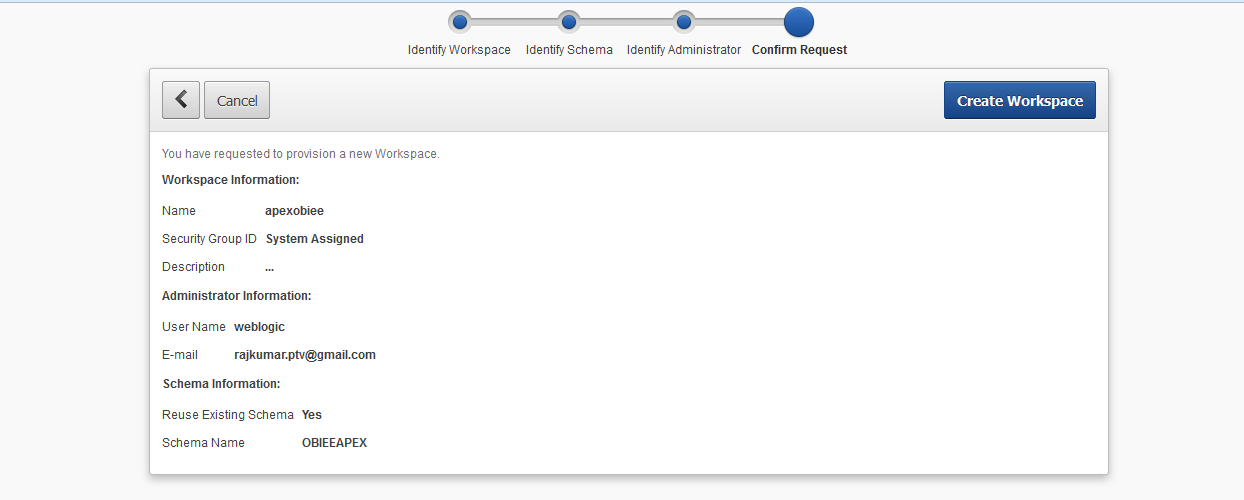
CREATING WORKSPACE IN APEX


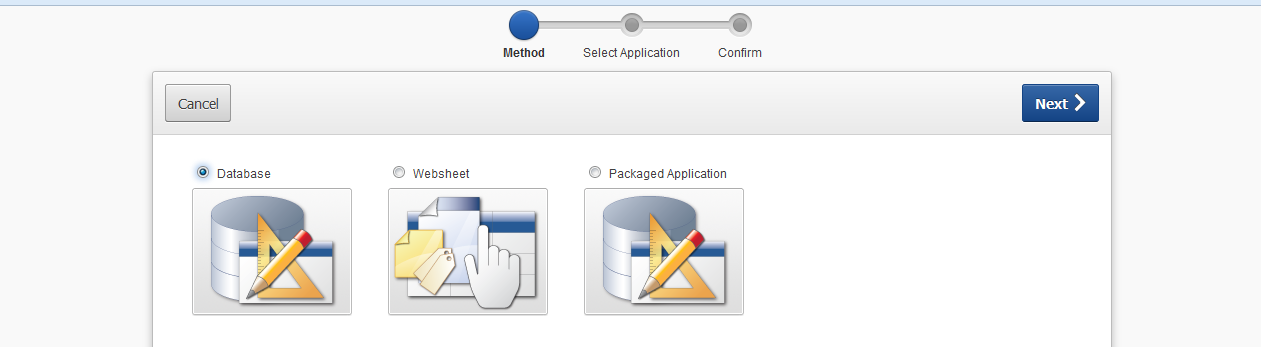
CREATING APPLICATION IN APEX
For creating new APPLICATION, we should logged in WORKSPACE which we are created

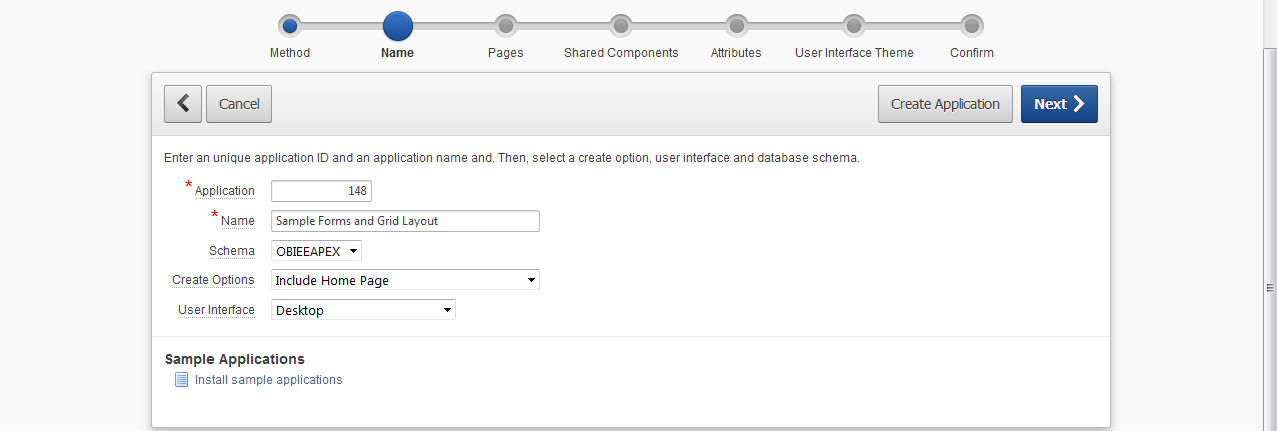
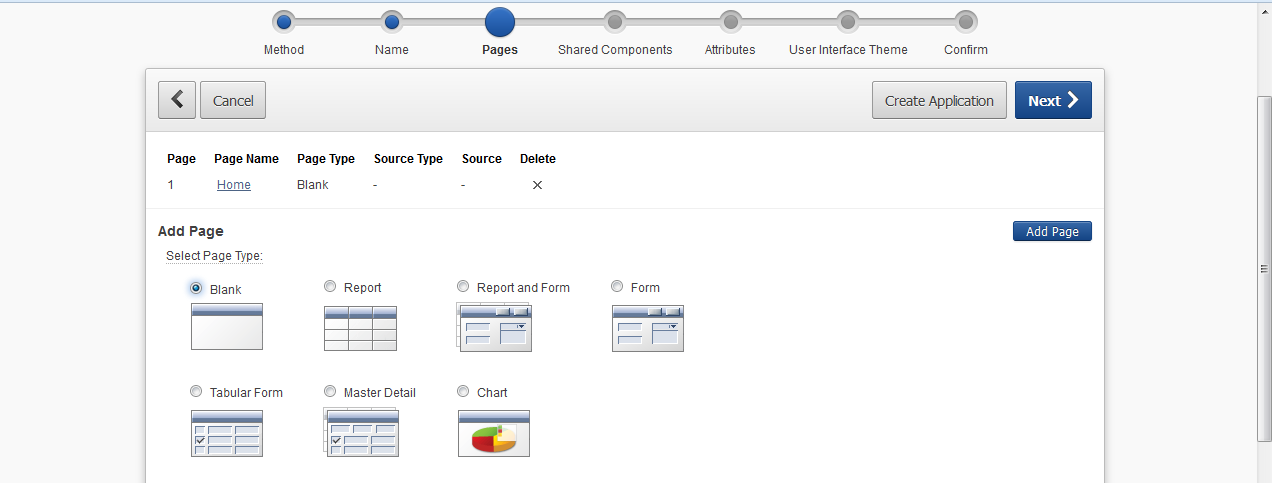


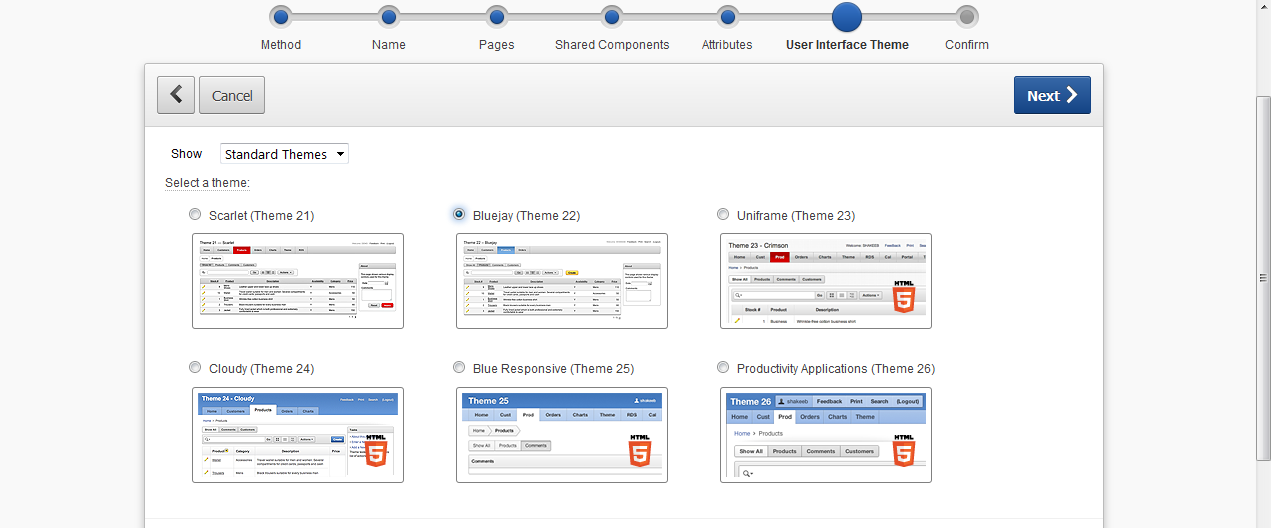
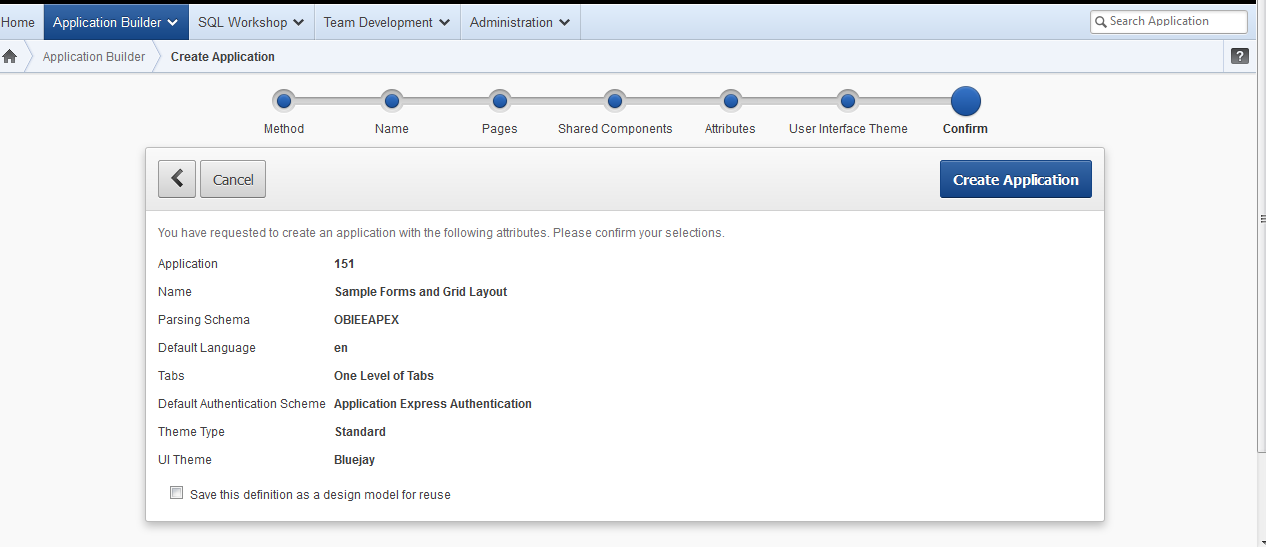
After Completion of above steps, we will get APPLICATION created Successfully which is shown below screenshot

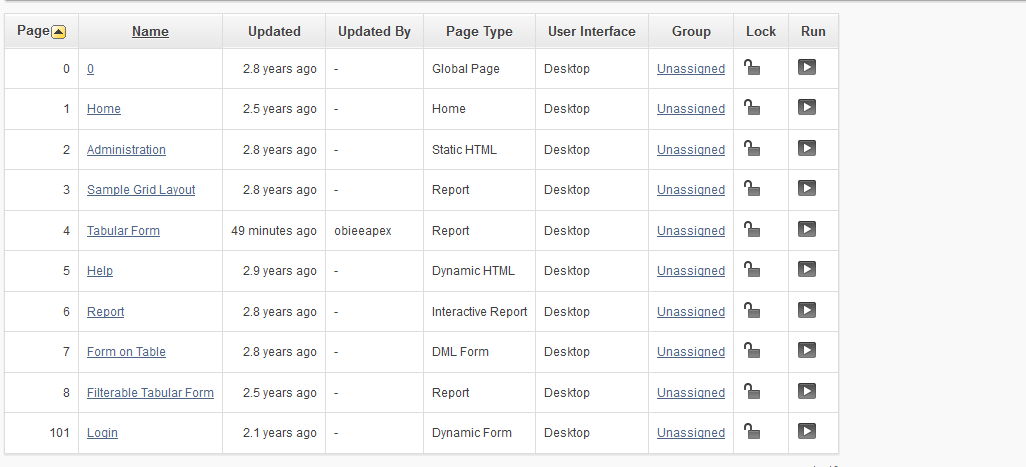
In APPLICATION, we can create pages, FORMS, REPORTS etc which is shown below screenshot
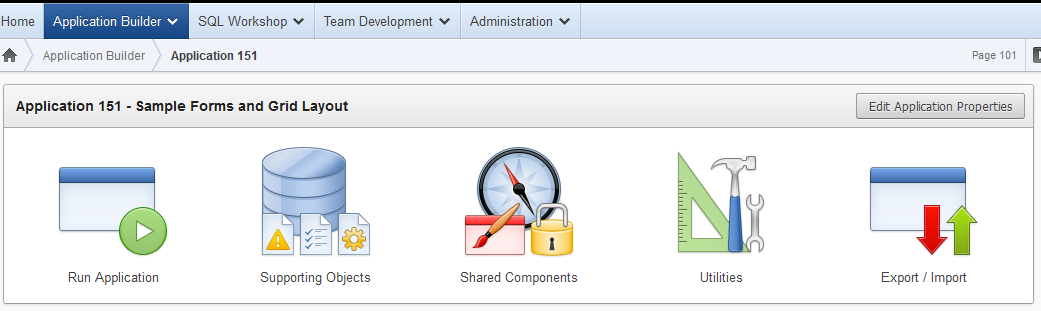
Below Screenshot, click on SHARE COMPONENTS
After click on SHARE COMPONENTS, we will get below screen
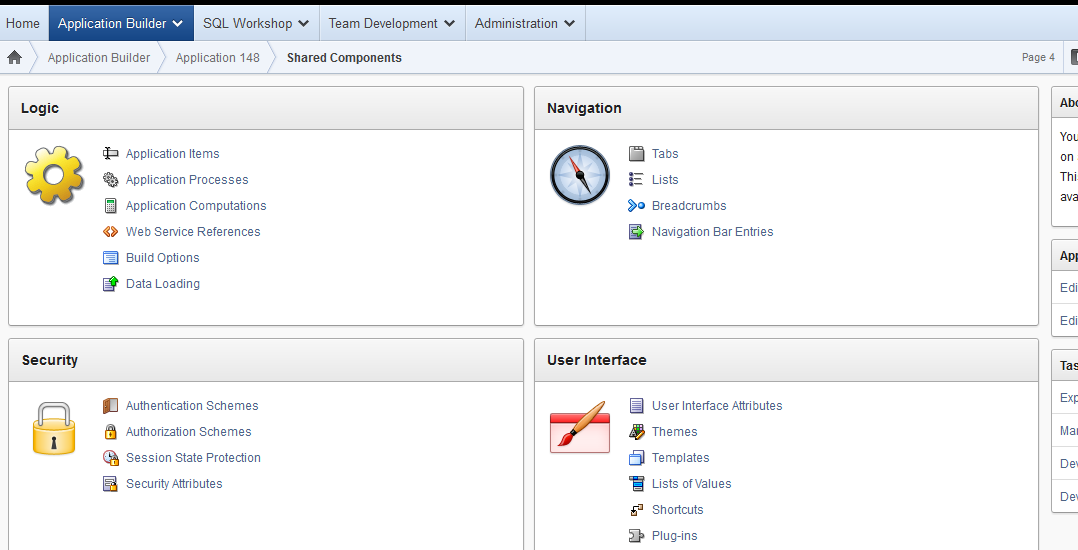
In this screen click on Security for defining the AUTHENTICATION SCHEMES
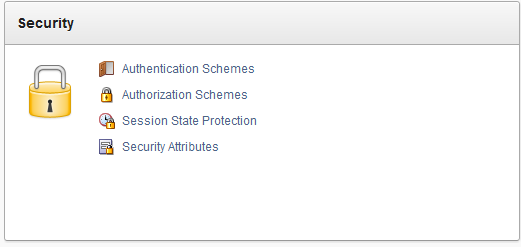
Click on AUTHENTICATION SCHEMES, follow screenshot will appear
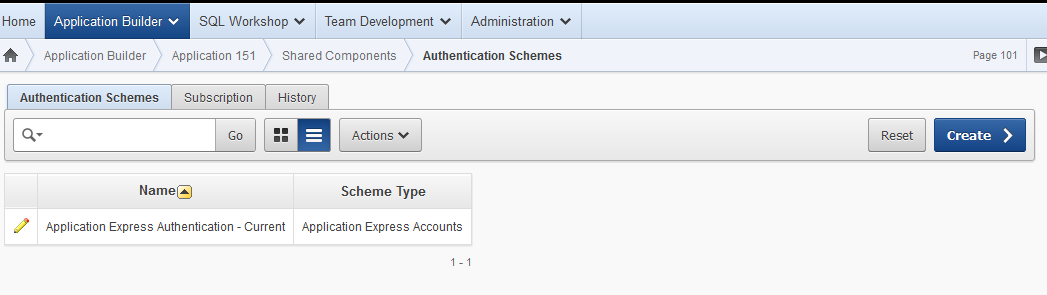
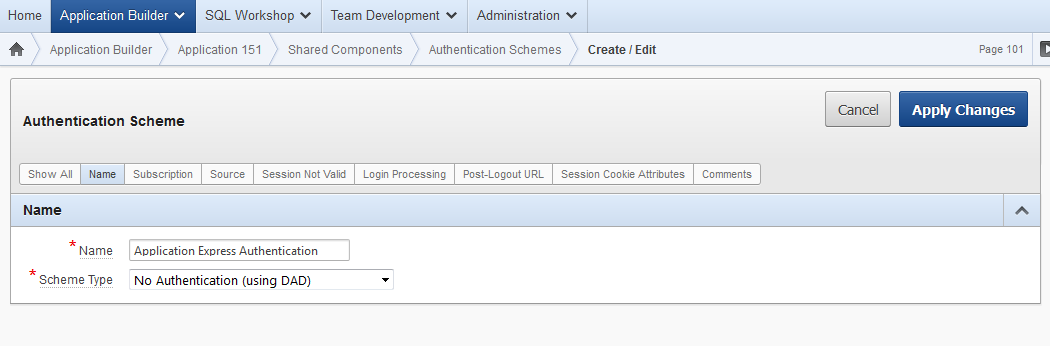
Click on Edit in above screenshot we will get below screen, change SCHEME TYPE to NO AUTHENTICATION (using DAD) and Click on Apply Changes
Run the APPLICATION in below screenshot
After Click on Run Application, we will get new window

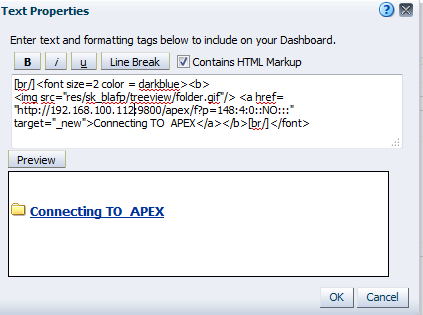
Copy the above URL and paste it in Text format(OBIEE) like below screen shot

After that, created one report named as DEMO which is shown below screen shot
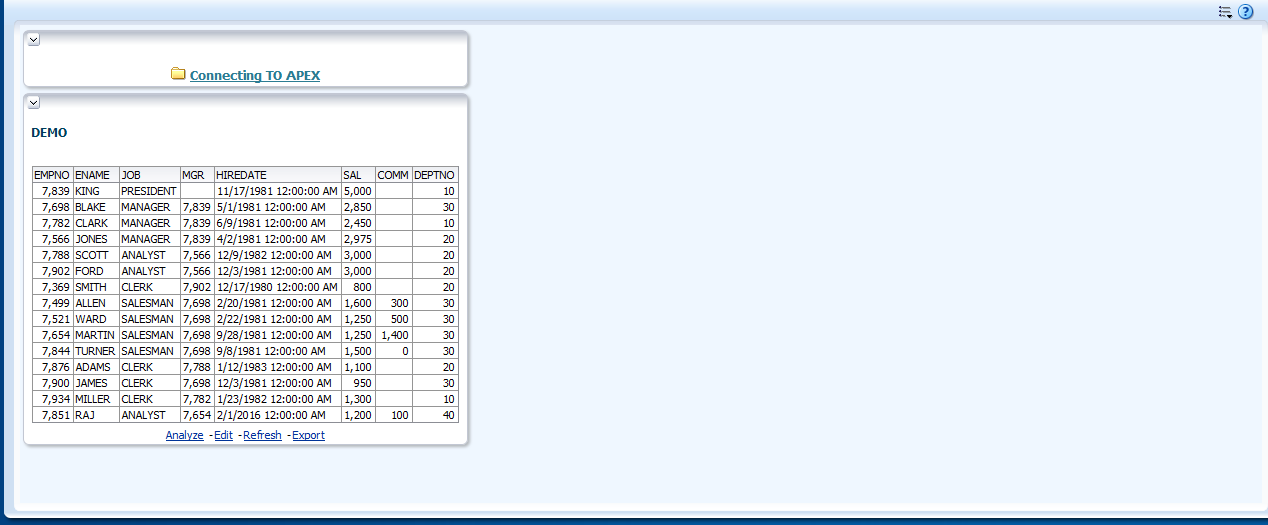
Click on Connecting to APEX link which is shown above screen shot and it will re direct to APEX like below screen shot
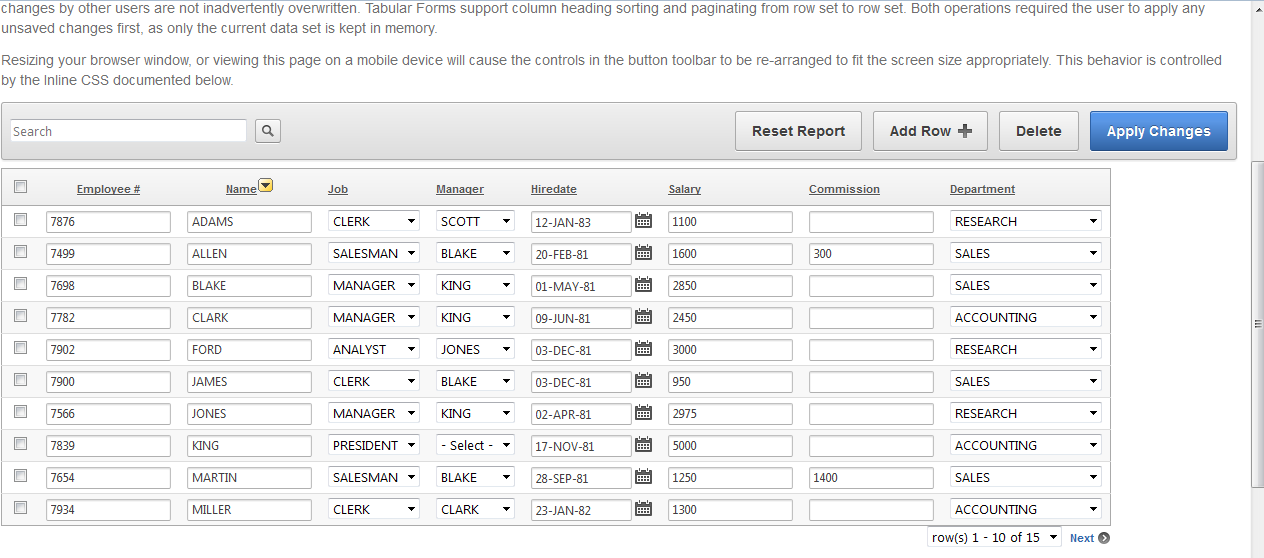
IF we want to add a new Row, click on ADD ROW, here in this case added name as srivatsan like below screen shot

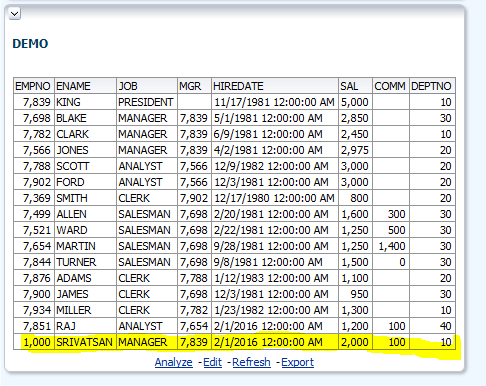
Then click on APPLY CHANGES. After clicking on APPLY CHANGES in APEX Window then refresh the OBIEE Report and the database, we can see the changes which is shown below screen shot
Thanks for helping us understand this topic. you have written it in a way that makes it
ReplyDeletevery simple to understand. Thanks you so much.
click here
Thanks for sharing this blog this content is very significant for me I really appreciate you.
ReplyDeleteThe blogs you have posted have taught you a lot of good things Thanks for posting.
click here now