ODI 11g Installation
Prerequisites
- RCU Installation
- Weblogic server Installation
ODI Installation
Post configuration
RCU INSTALLATION
- Run the Rcu windows batch file.
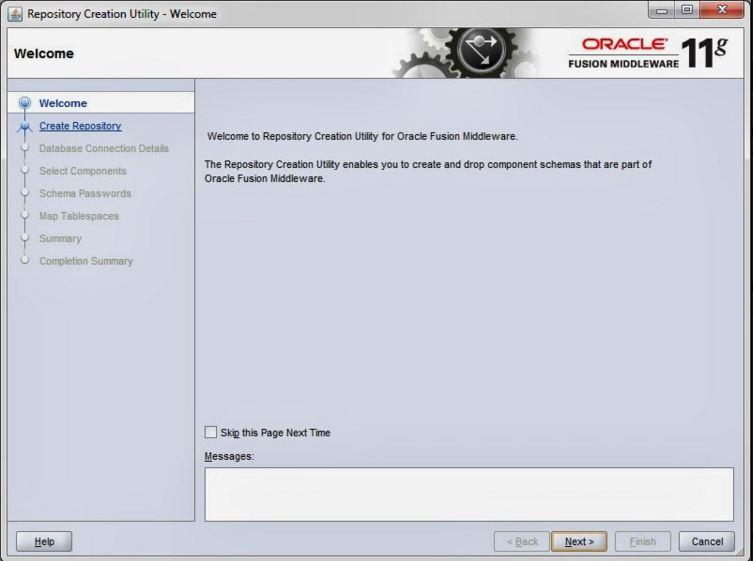
- Click Next and select create.
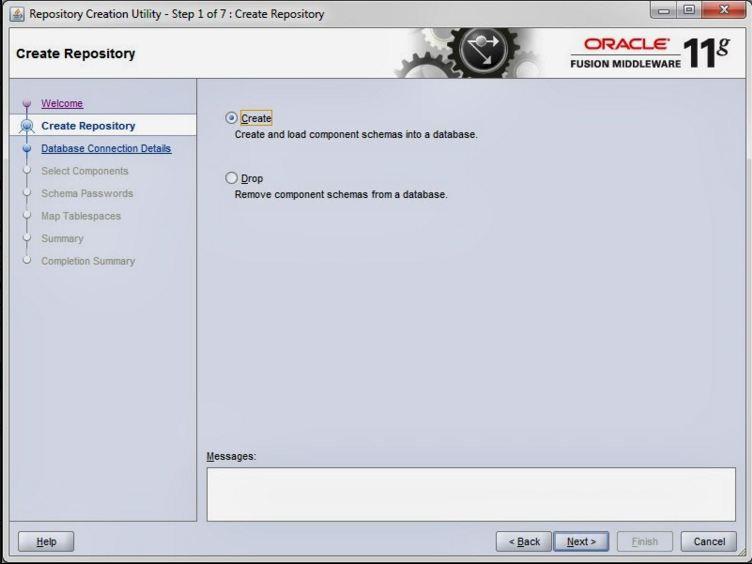
- Fill the details as below click next.
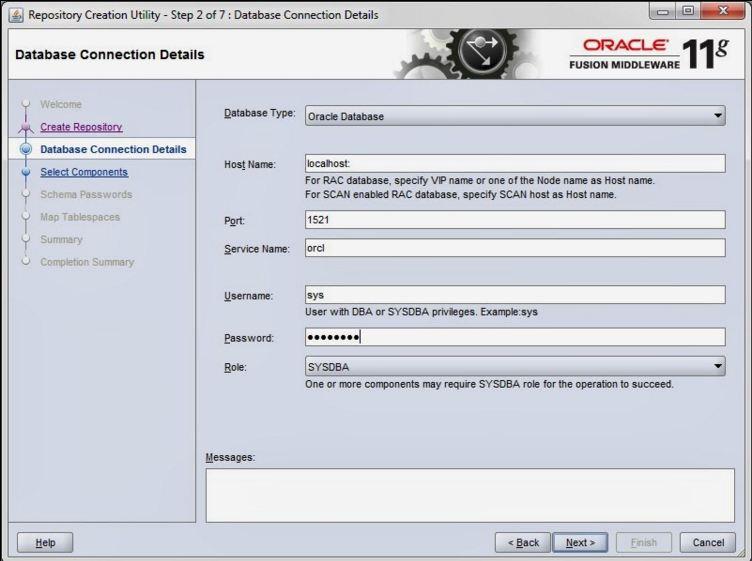
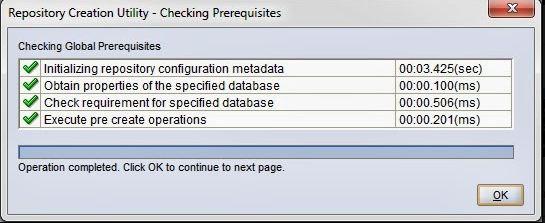
- Click ok
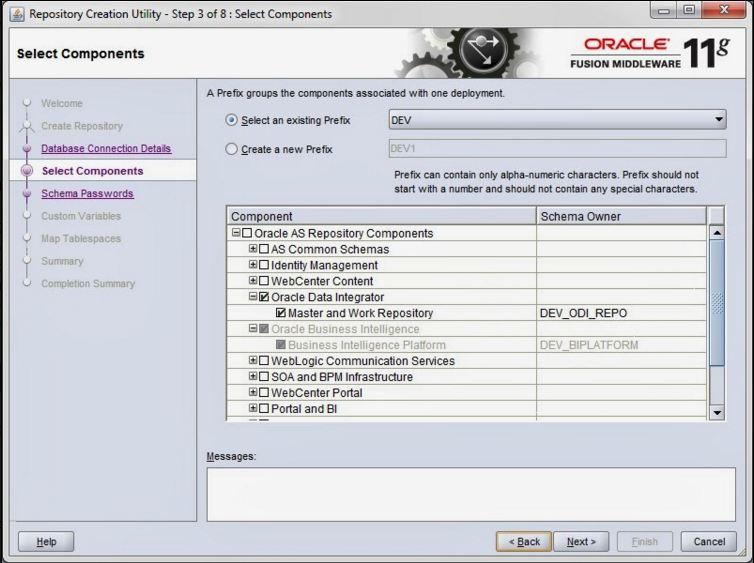
- select Existing prefix and ODI component and click next.
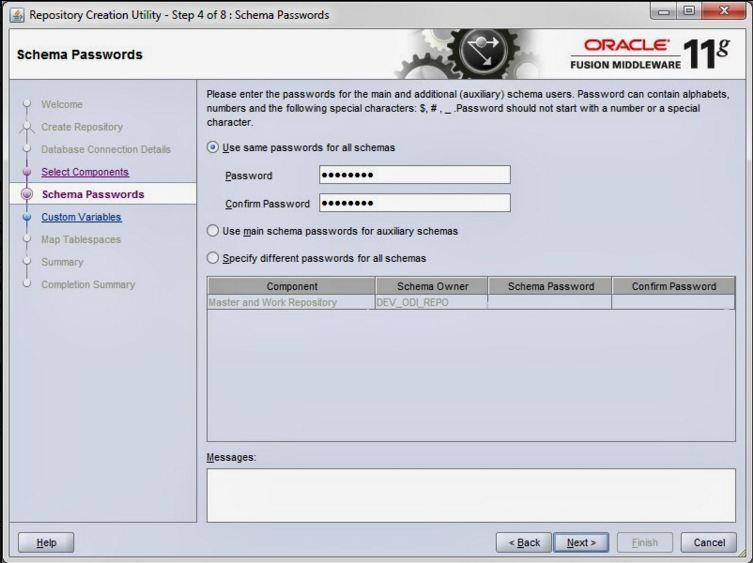
- Click ok

- Give the password as Admin123 and click next.
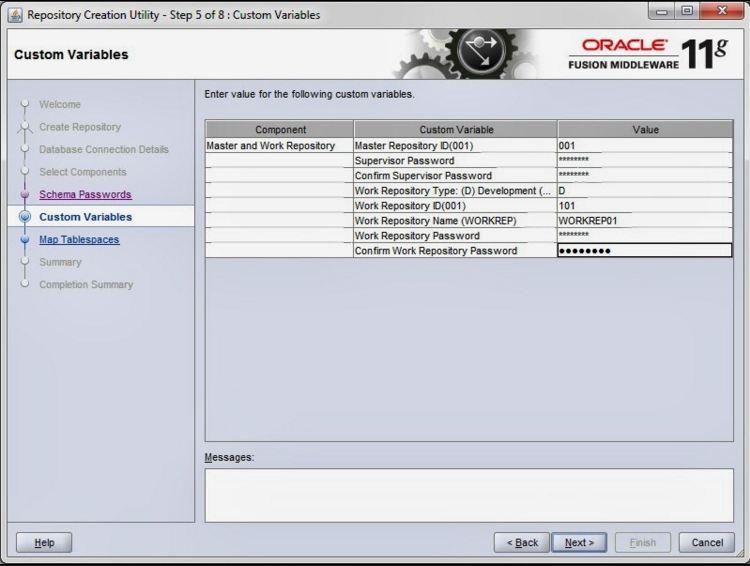
- Fill the repository ID’s and passwords as below and click next.
Supervisor password : SUNOPSIS
Work repository password : SUNOPSIS
- Click next
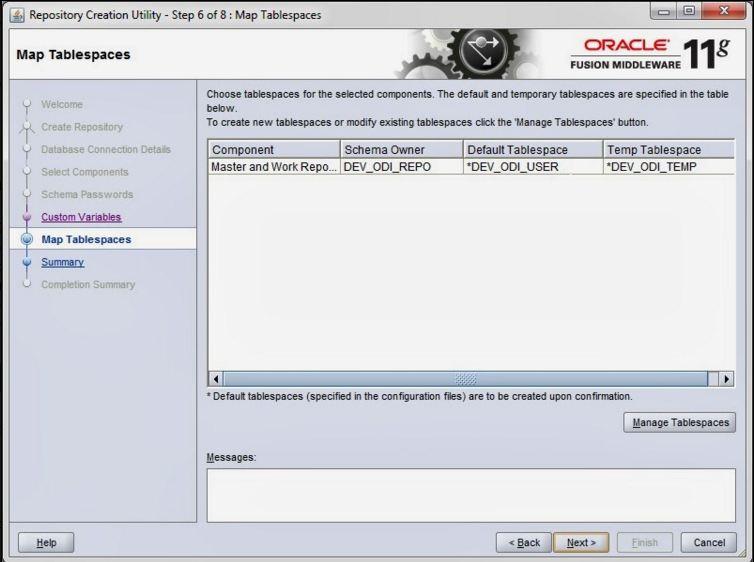
10.Click ok.
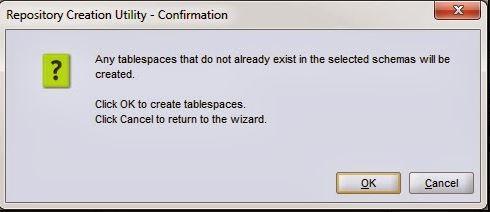
11. Click ok.
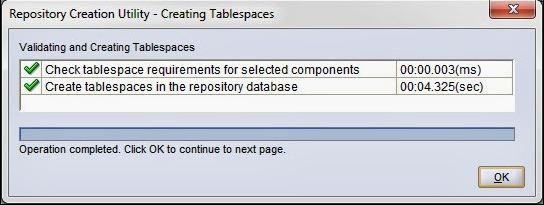
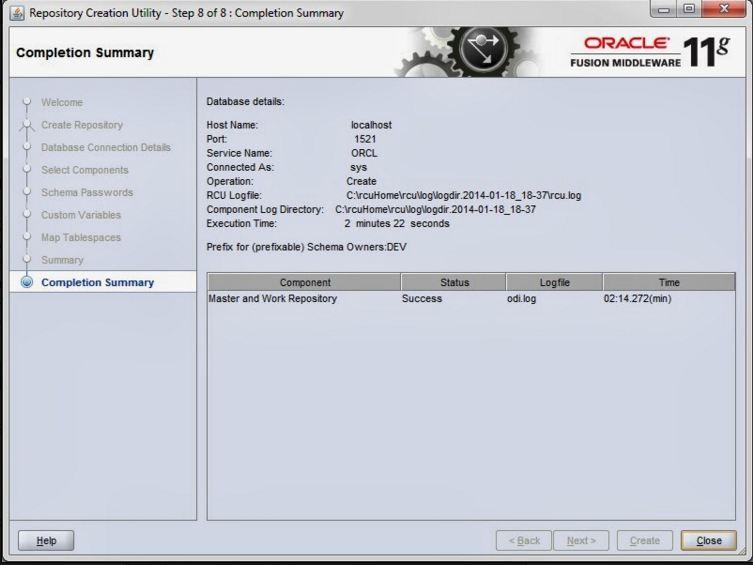
12. Click create to create the repositories.
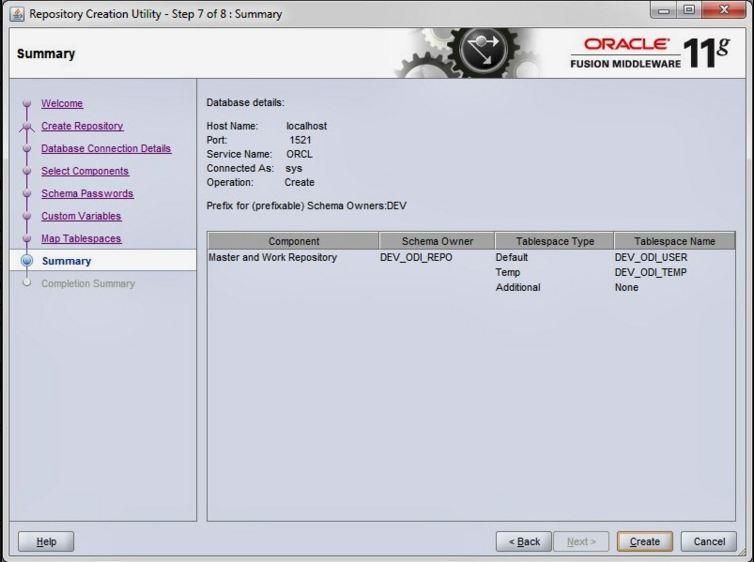
13. Then close.
Installing web logic server
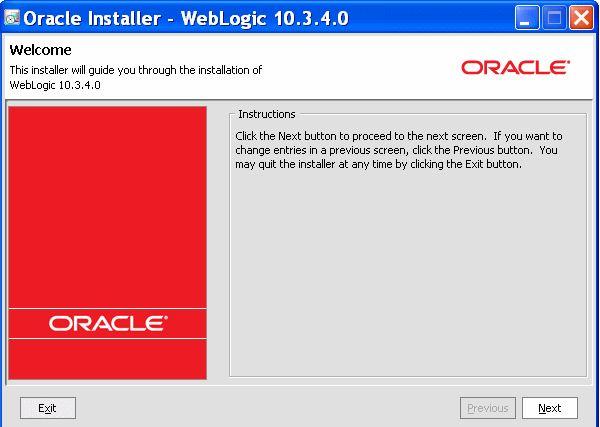
1. Click next.
2. Select create new middleware home and home directory and then click next.

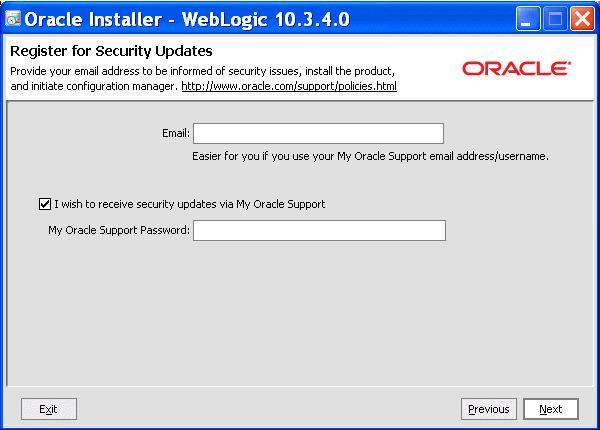
3. Uncheck the security updates and click next.
4. select the typical or custom installation then click next.

5. Click Next.

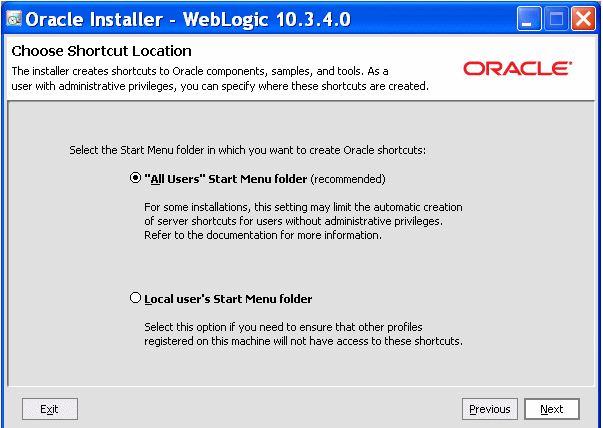
6. Select the option all users or local user’s then click next.
7. Click next.
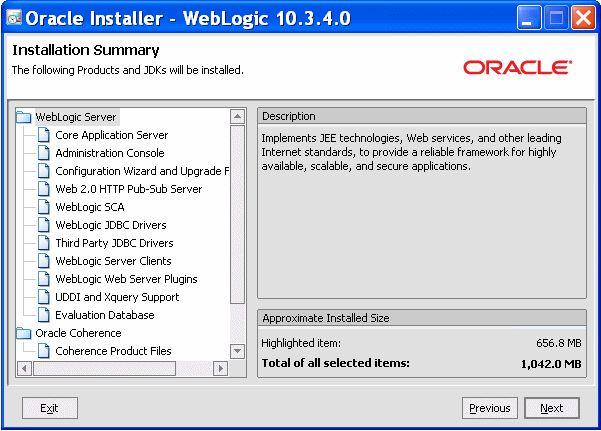
8. After finishing installation click next.
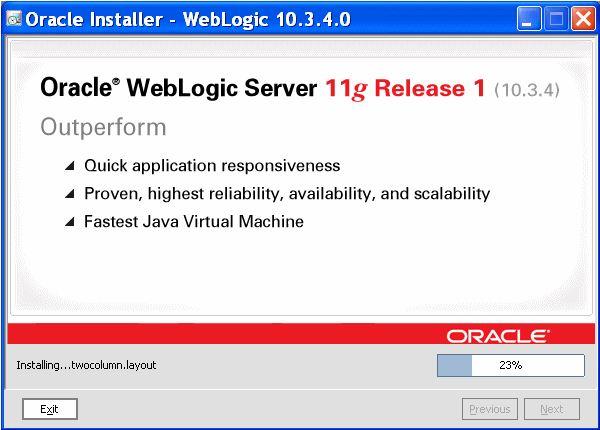
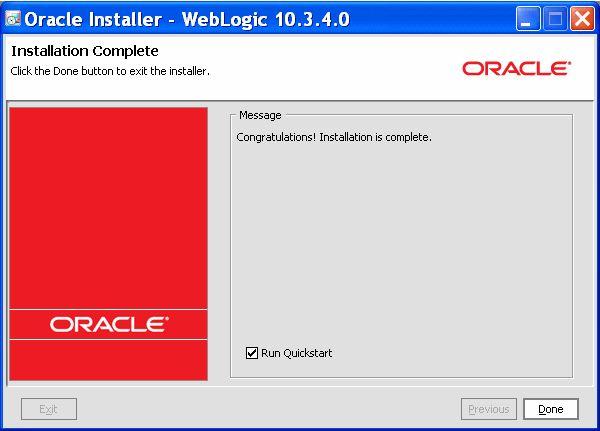
9. Click done.
ODI 11G Installation
1. Run the setup.exe in disk 1.
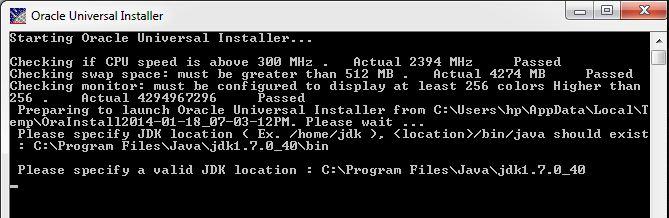
Specify the jdk location.
2. Click next.
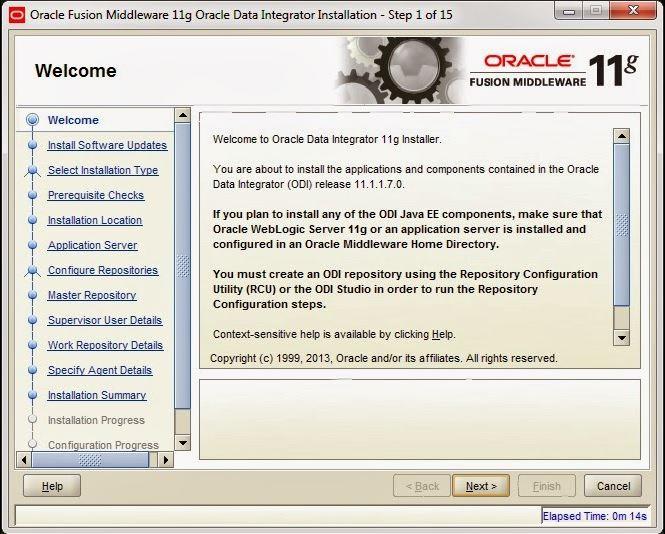
3. Select option skip software updates. Then click next.

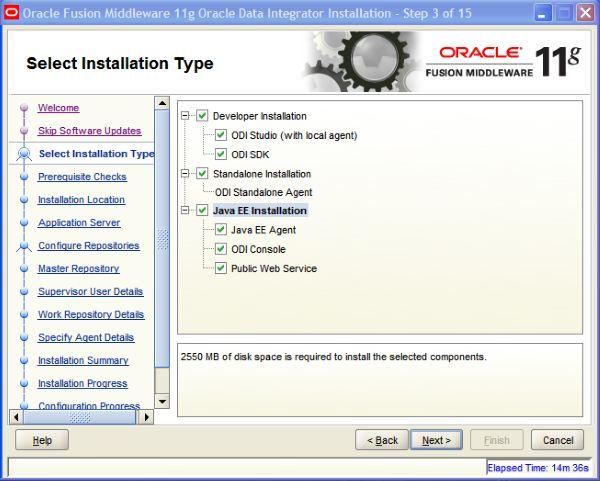
4. select all the options as below and click next.
5. Click next.
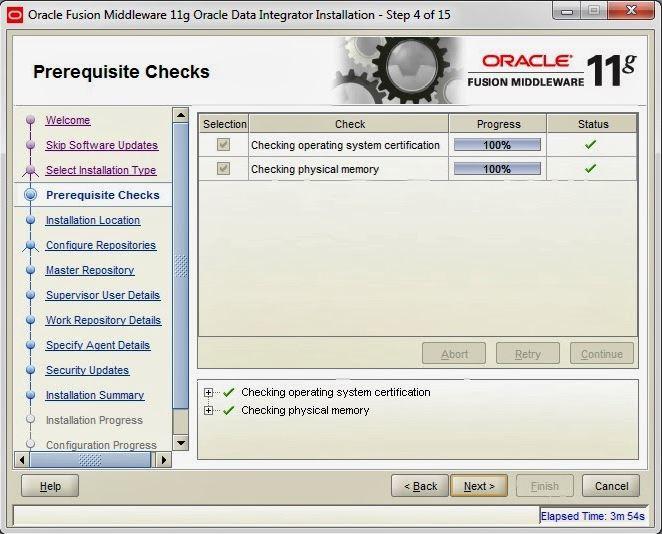
6. Specify the oracle home directory and click next.

7. Click skip Repository configuration and click next.
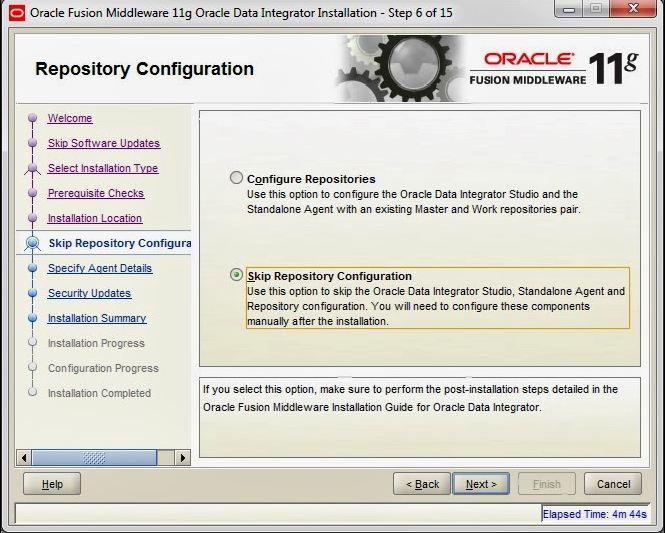
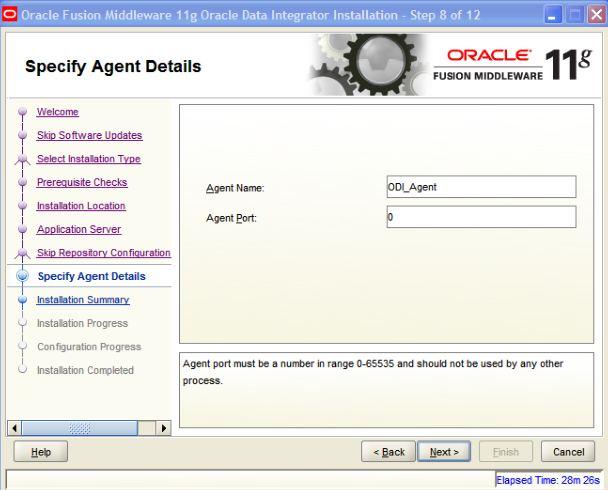
8. Specify the agent name and port as below and click next.
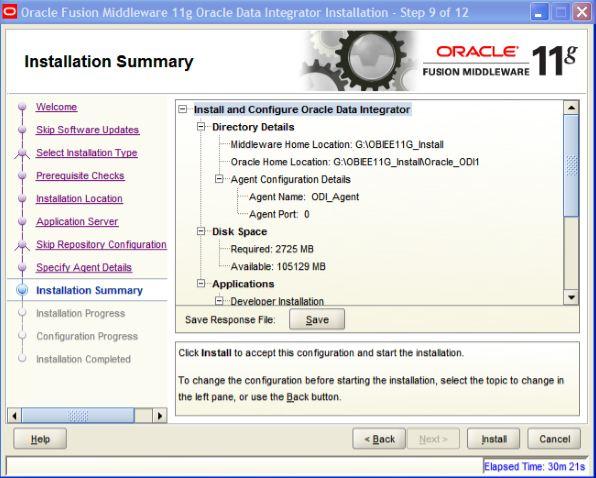
9. Click install to install ODI.
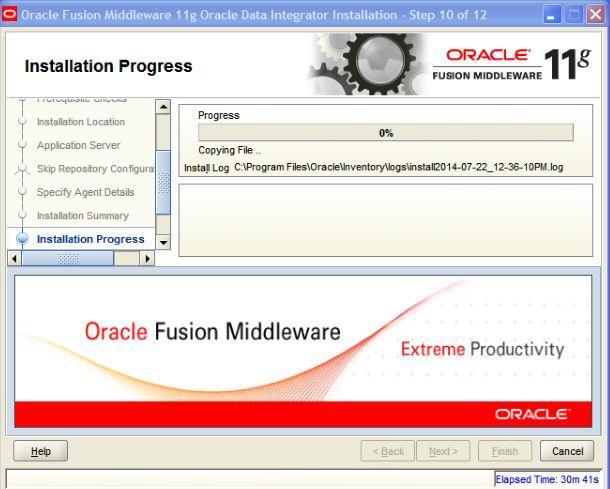
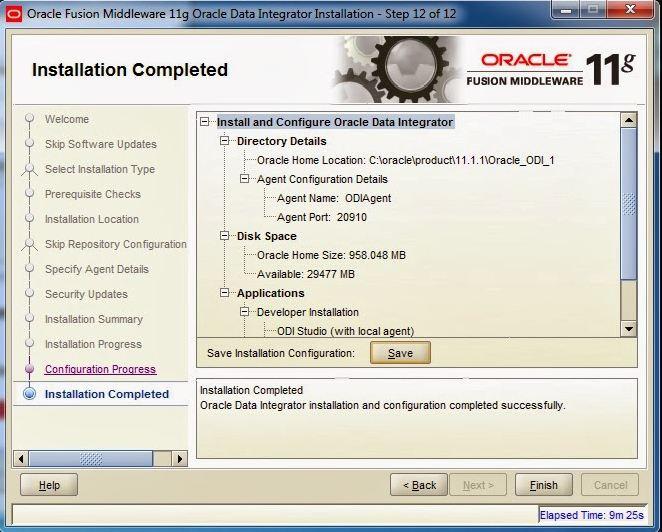
10. Click Next after finish.
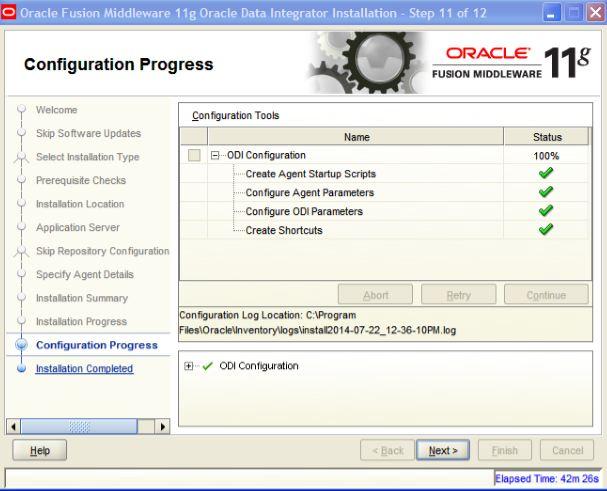
11. Click next after completing.
12. Click finish.
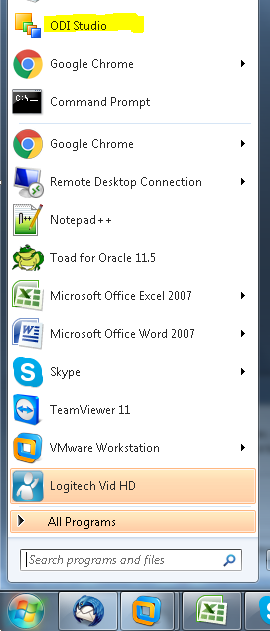
13. Go to start -> open ODI Studio