Showing posts with label Redhat 6. Show all posts

Friday, April 22, 2016

OBIA CONFIGURATION in BIAPSS 11.1.1.10.1 Installation in Redhat 6

  In Our previous page we created ATG and FSG Update for BIAPPS, go to ... Previous Page
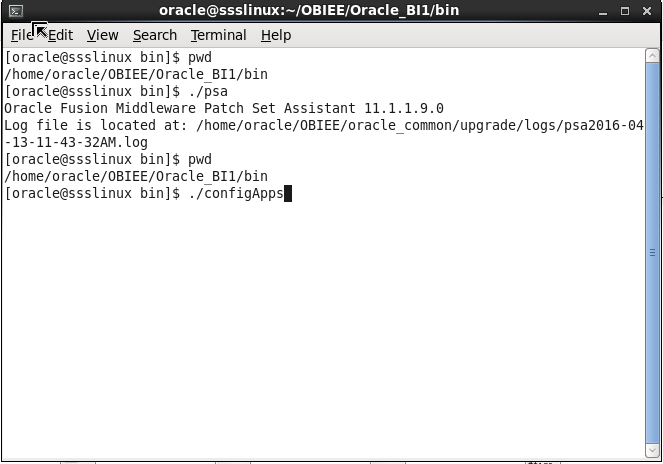
a) Make sure that before running configApps all server need to start. Node manager also.
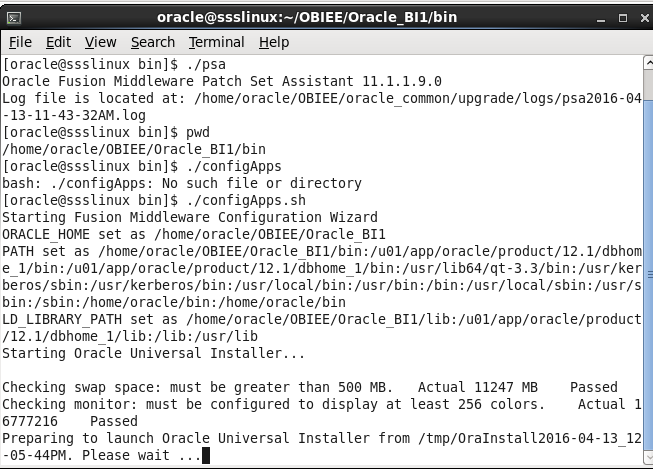
b) Go to path /home/oracle/OBIEE/Oracle_BI1/bi---->run configApps.sh
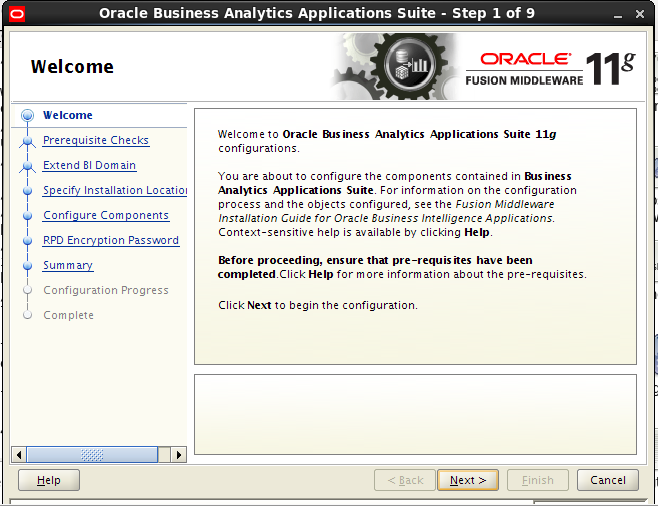
c) Click Next
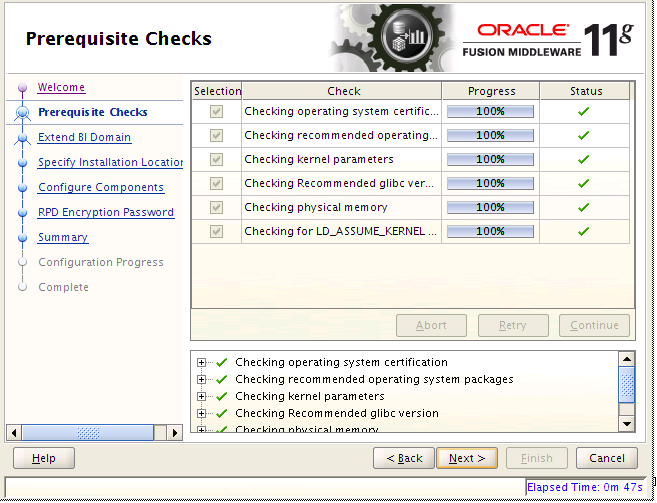
d) Click Next
e) Provide Password as Admin123 ---->Click Next
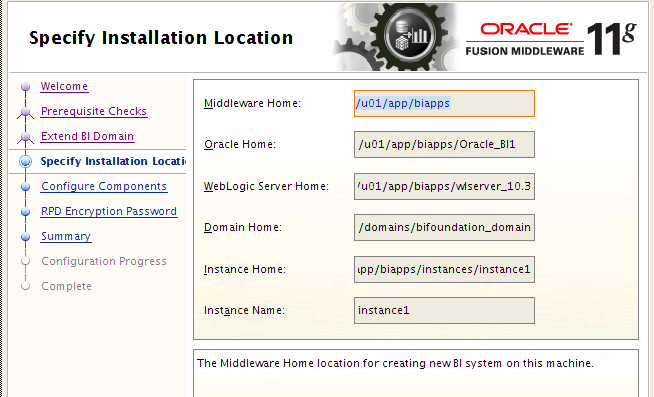
f) Observe all parameters -->you should not modify any parameters--->click on next
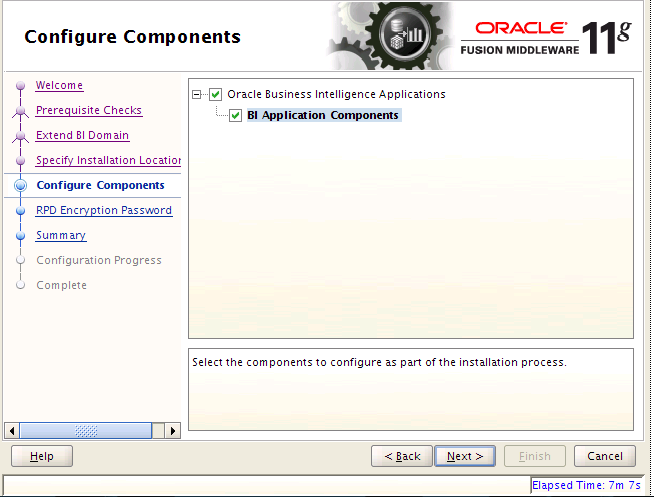
g) Select BI Application Components ---->Click on Next
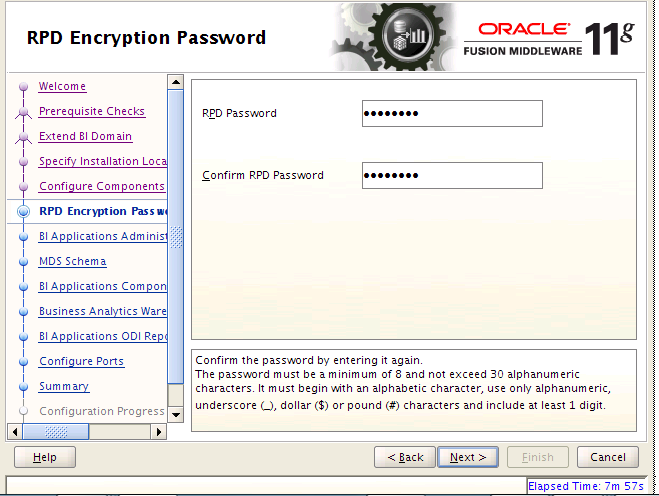
h) Provide RPD password as Admin123 ----->Click on Next
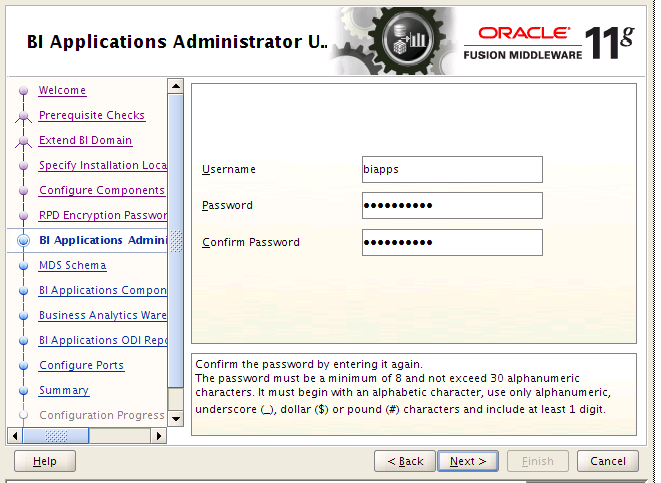
  1. Provide username as biapps password as Admin123
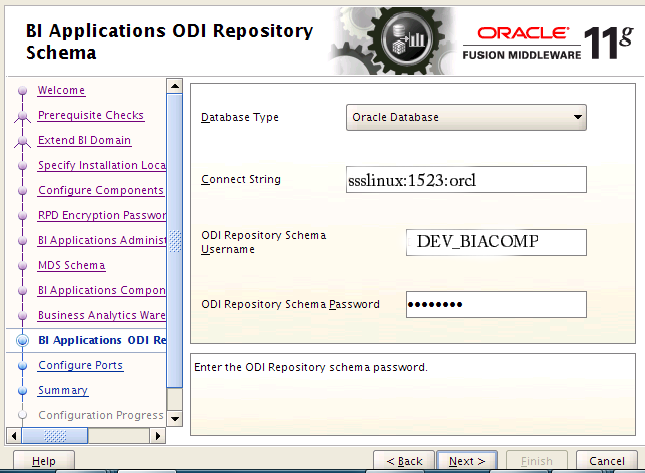
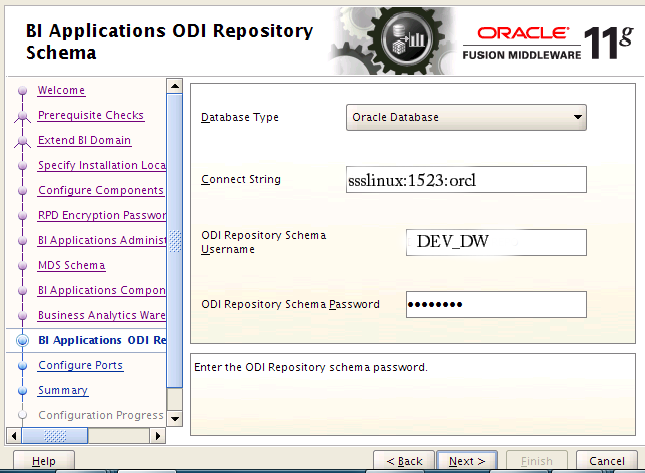
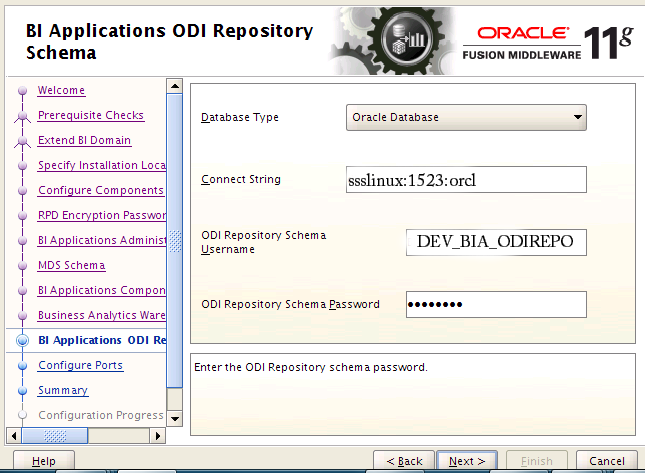
j) Provide below details ---->click On Next
k) Provide below details ---->click On Next
l)  Provide below details ---->click On Next
m)  Provide below details ---->click On Next
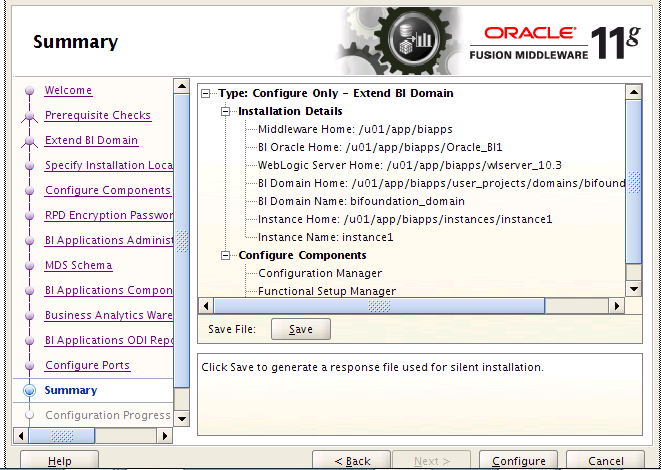
n) Select Auto Port Configuration ---->Click on Next
o) Click to continue
p) To synchronize the security between ODI Studio and WebLogic Server
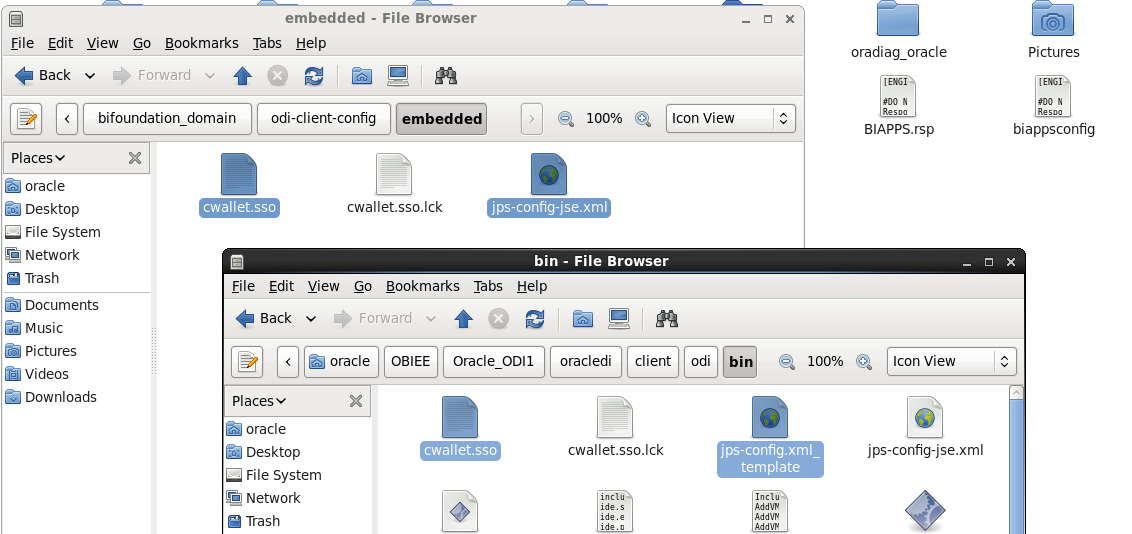
q) Copy the files cwallet.sso and jps-config-jse.xml from
home/oracle/OBIEE/user_projects/domains/bifoundation_domain/odi-client-config/embedded     to home/oracleOBIEE/Oracle_ODI1/oracledi/client/odi/bin

r) Now edit the file home/oracle/OBIEE/Oracle_ODI/oracledi/client/odi/bin/odi.conf
s). Locate the line AddVMOption -Doracle.security.jps.config=./jps-config.xml   
t) Modify as shown below


u) save and close
Load Plan Generator Plug-in
v) The load plan generator plug-in for ODI is supplied in a zip file and it is used by BIACM
w) Copy and paste the file from the location
home/oracle/OBIEE/Oracle_BI1/clients/biappsclients/odi    to home/oracleOBIEE/Oracle_ODI1/oracledi/client/ide/extensions
Then unzip the OBIA_LPG_PLUGIN

PATCHES for BI APPS 11.1.1.10.1 Installation in Redhat 6


 In Our previous page we created BIAPPS Installation,  go to ... Previous Page 
      a. go to below path
    /OBIEE/Oracle_BI1/biapps/tools/bin/
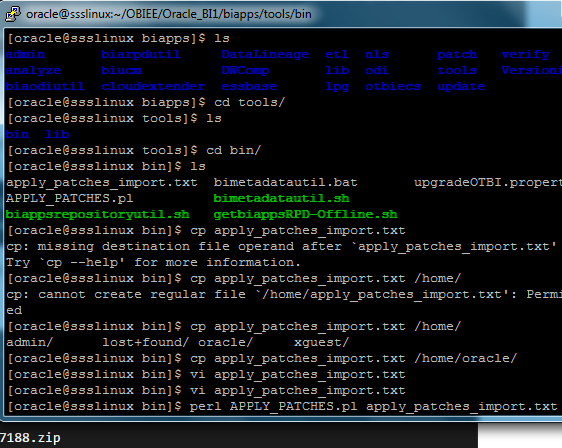
  1. Run this comment for editing apply_patches_import.text
          vi apply_patches_import.text
    c)     Give details like below
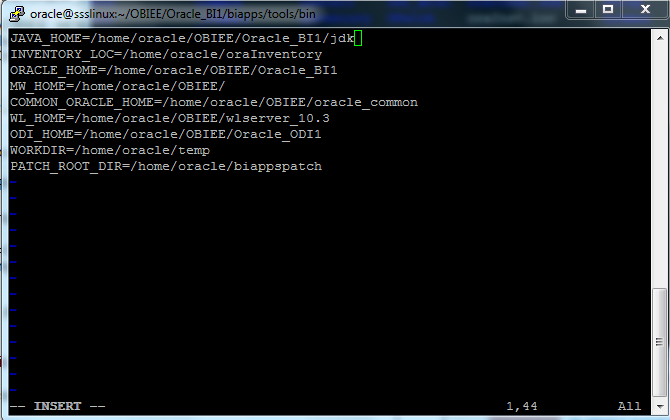
C:\Users\SSS2015052\Desktop\New folder\BIAPPS\patch.PNG
  1. Then run below comment for patches.
           perl APPLY_PATCHES.pl apply_patches_import.txt  like below Screen
C:\Users\SSS2015052\Desktop\New folder\BIAPPS\patch2.PNG
then it will start extract and it will update patches.
C:\Users\SSS2015052\Desktop\New folder\BIAPPS\patch3.PNG

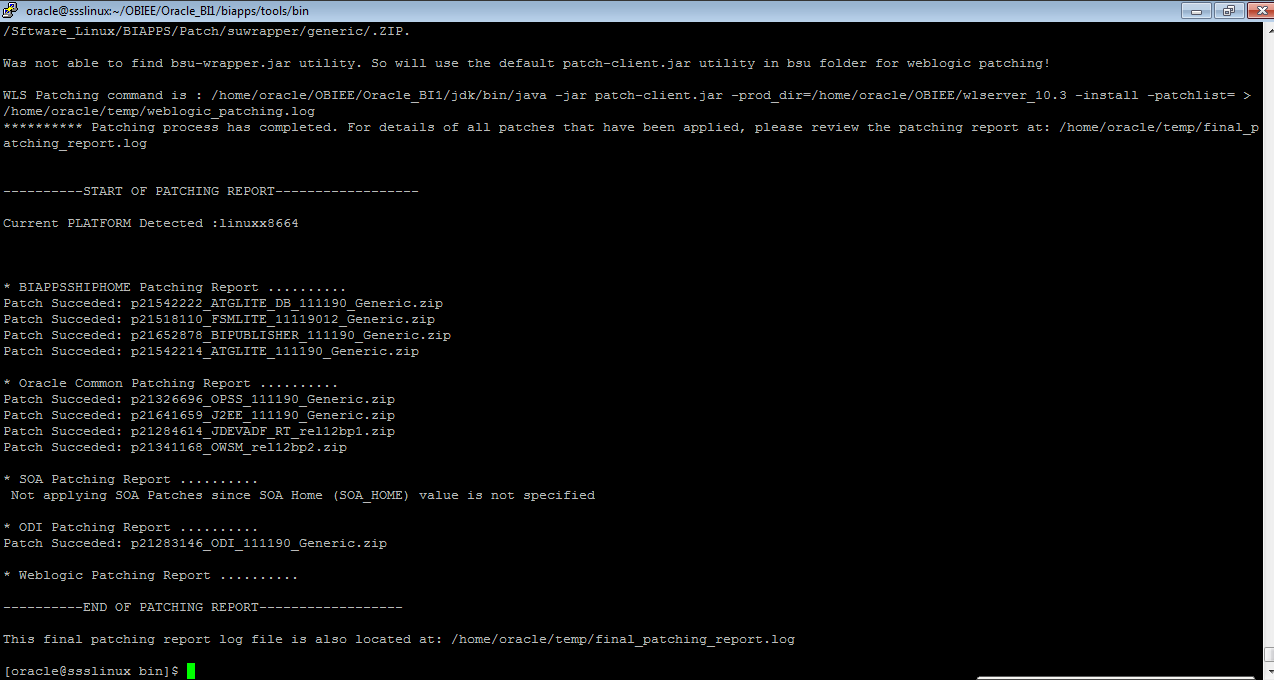
C:\Users\SSS2015052\Desktop\New folder\BIAPPS\PATCH SUCCES.PNG

  1. All patches successfully completed.

    .... to be continued navigate to ATG & FSM UPDATE for BIAPPS

BIAPPS 11.1.1.10.1 INSTALLATION in Redhat 6

  In Our previous page we created ODI Installation, go to ... Previous Page 
 
RCU INSTALLATION
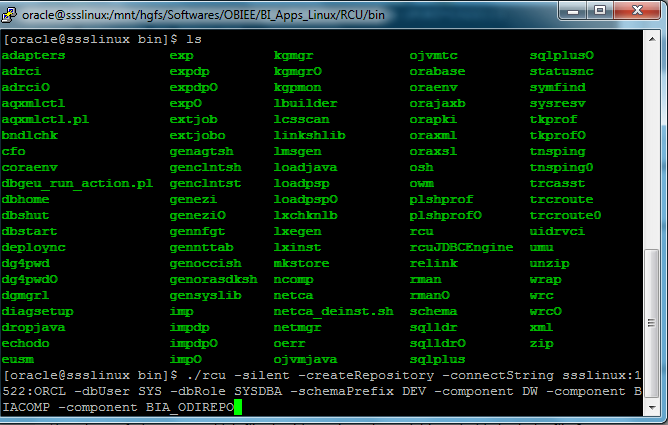
Go to /mnt/hgfs/Sftware_Linux/BIAPPS/RCU/bin
C:\Users\SSS2015052\Desktop\New folder\BIAPPS_RCU\1.PNG
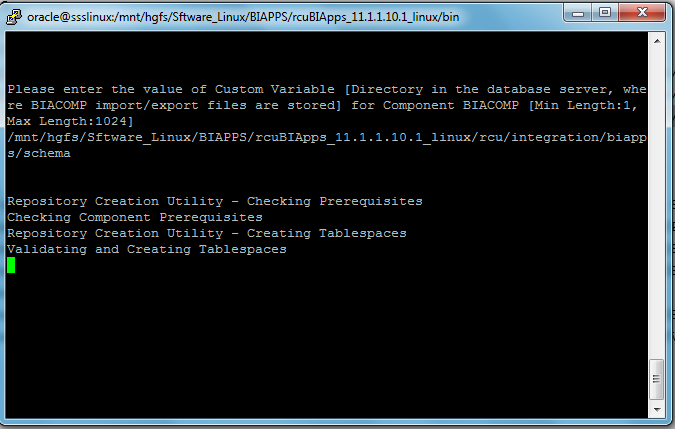
  1. After enter the full screen will be deleted that means we have to entered sys password then our schema password then it will prompt custom variable path .
  2. We have to give like below screen
C:\Users\SSS2015052\Desktop\New folder\BIAPPS_RCU\2.PNG
     finally, it will complete. Then we have to install Biapps.

BIAPPS INSTALALTION
  1. go to /mnt/hgfs/Sftware_Linux/BIAPPS/biapps/Disk1
  2. In my case I used. Rsp file for BiApps Installation here I attached  
    C)  execute the following command
         ./runinstaller -silent – response file / home /oracle/BIAPPS.rsp
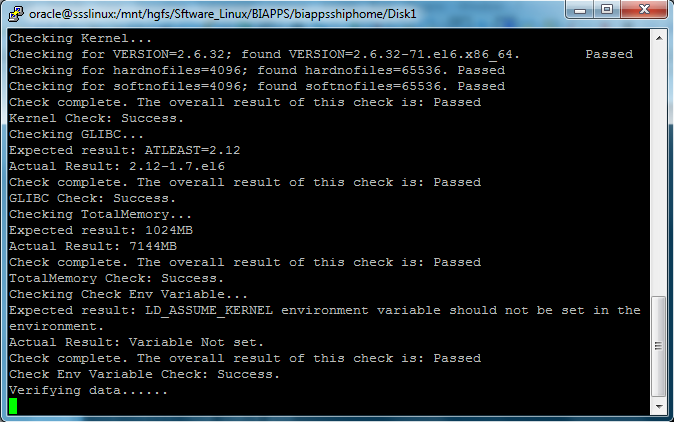
    d)     it will prompt you jdk path. Give proper jdk path.
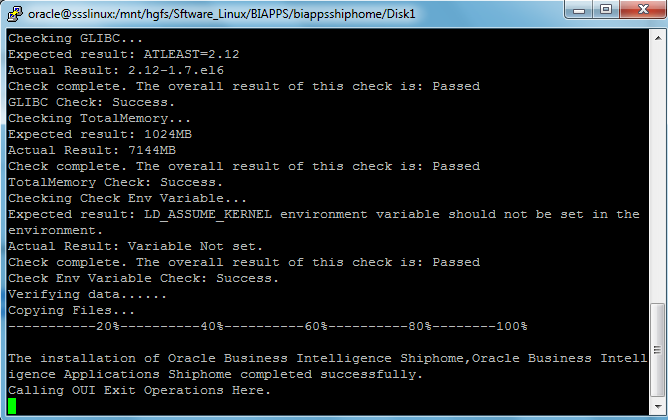
C:\Users\SSS2015052\Desktop\New folder\BIAPPS\1.PNG
C:\Users\SSS2015052\Desktop\New folder\BIAPPS\2.PNG
C:\Users\SSS2015052\Desktop\New folder\BIAPPS\3.PNG
C:\Users\SSS2015052\Desktop\New folder\BIAPPS\4.PNG
C:\Users\SSS2015052\Desktop\New folder\BIAPPS\5.PNG 

.... to be continued navigate to Patches for BIAPPS

ODI Installation in Redhat 6

     In Our previous page we have OBIEE 11g Installation , go to ... Previous Page                  
  1. For ODI Silent Installation we have to use Response file (. RSP)

  1. In my case I used below RSP file that named as odi.rsp


  1. Go to extracted folder on that ODI --> disk1

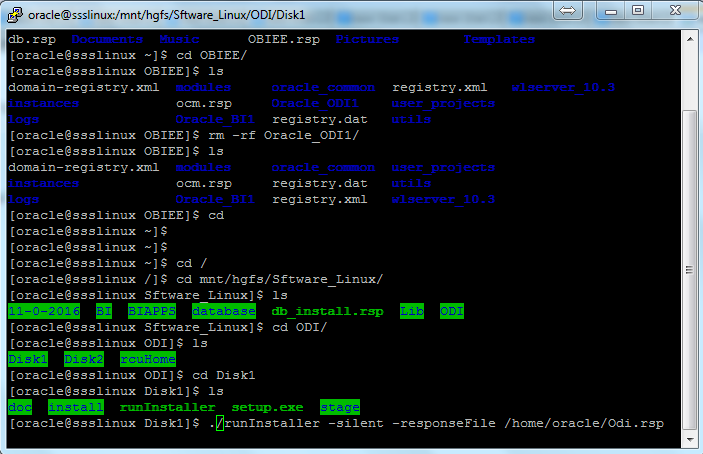
  1. Then type below command
. /runinstaller - silent - reponsefile - /home/oracle/odi.rsp


C:\Users\SSS2015052\Desktop\New folder\ODI\Capture.PNG
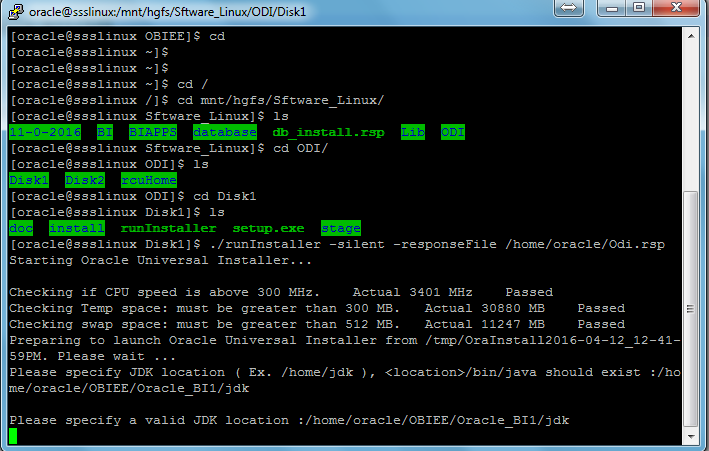
  1. Click enter it will prompt you JDK location give a proper JDK location like below screen
C:\Users\SSS2015052\Desktop\New folder\ODI\Capture2.PNG
  1. It will start install in silent mode
          Below screen showing file is copying
C:\Users\SSS2015052\Desktop\New folder\ODI\Capture3.PNG
  1. Now ODI installed successfully in silent modeC:\Users\SSS2015052\Desktop\New folder\ODI\Capture4.PNG
............ to be continued navigate to BIAPPS Installation


12C Database Installation for BIAPPS 11.1.1.10.1 in Redhat 6


  Before starting installation process please check our Pre-Requisites for ODI BIAPPS IN Linux  

1. Configure the KERNEL


    a) We need to configure the RedHat 6.0 Linux kernel to support Oracle

       Edit the vi /etc/sysctl.conf and add following lines.


  b) Now execute sysctl -p command to apply the new settings:
 C)  Edit the vi /etc/pam.d/login file and add following line


   d)  Edit the vi /etc/security/limits.conf file and add following lines:


      e)  modify the vi /etc/sysconfig/selinux change value of SELINUX variable to disabled:


    1.  Add the Oracle User:

    2. a) Next we need to create the Oracle user account, OS groups and mount point.

     The Oracle software will be installed and owned by the oracle user account. In additional  
     several OS groups are created that allow other non-oracle OS users privileged access to the
     database.
                  b)   Login as root and create the user oracle account and the OS groups:


   c) Now we can log into our new oracle account and configure the bash profile:
       vi ~/. bash_profile
       Add the following lines to the profile script:
4)  Install Database
           Since we are going to install the Database in silent mode, we need a response file.
 The response file will provide instructions to the installer program on how we want Oracle 12.1.0.1 Database software configured.
  1.      Change into the database directory and launch the runInstaller script as follows: 
    in my case i used above rsp file


   b) At the conclusion of the install we need to log in as root and execute the

     /u01/app/oracle/product/11.2.0/dbhome_1/root.sh script.


..... to be continued Navigate to OBIEE 11g Installation