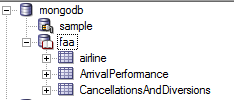
MongoDB Installation Steps
- Double-click the appropriate installation setup
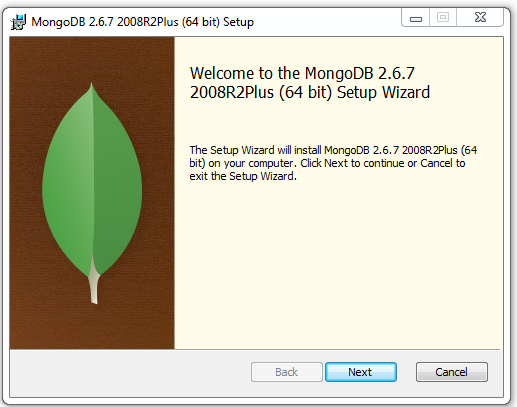
- Click Next

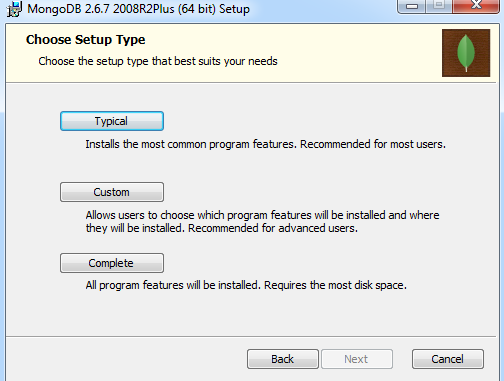
- Click next and choose Typical
- Now click Install
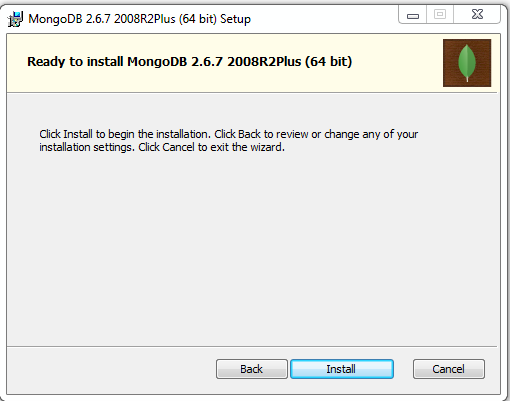
- Now setup will start Installing the db
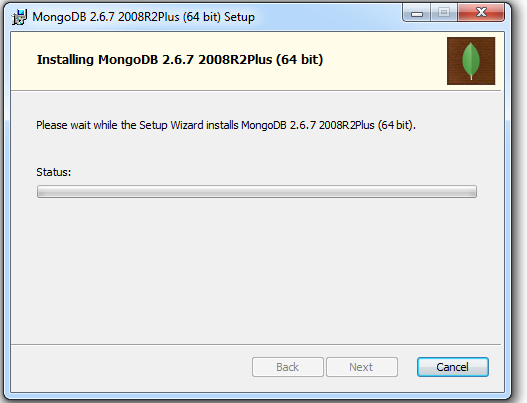
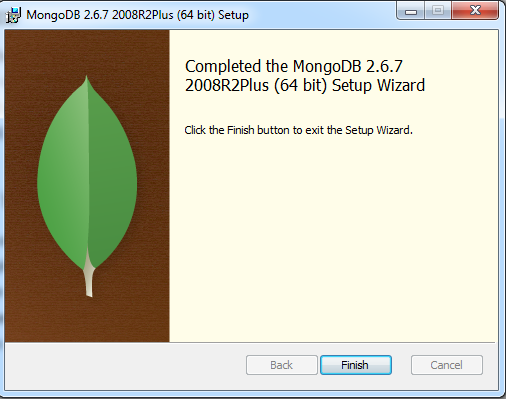
- Click Finish to complete the Installation.
- Now go to the Mongodb Installed path, located in your local drive
C:\Program Files\MongoDB\Server\3.0\bin
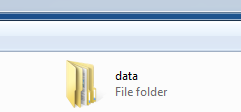
- Now create a folder and name is as --->data in (C:\) drive
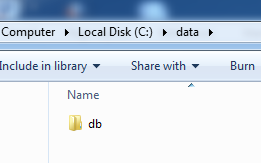
- Now in that data folder create a another folder and name it as db
- now go to cmd ---->Run as Administrator
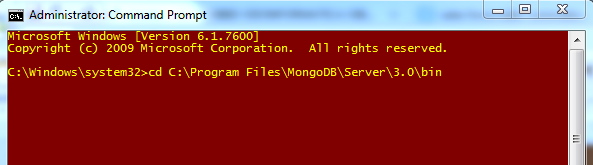
- Now type mongod.exe
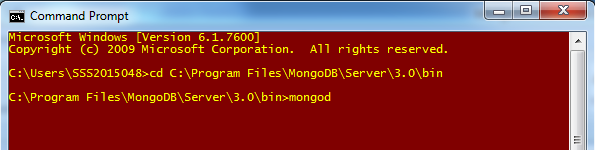
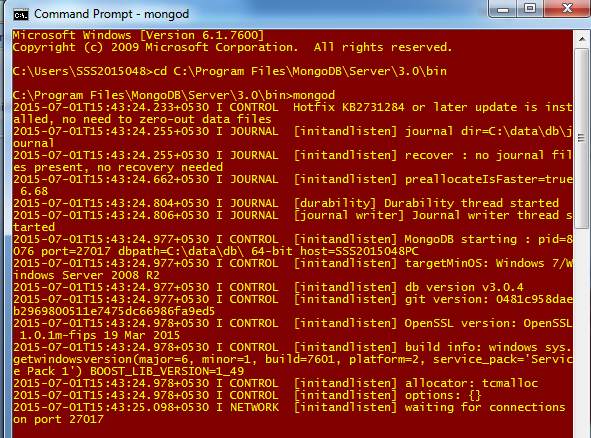
- After running that command we can notice that port number, Which means Mongodb Server is working
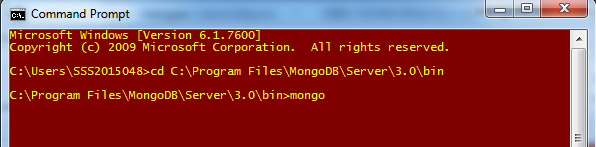
- now go to cmd ---->Run as Administrator
cd C:\Program Files\MongoDB\Server\3.0\bin

- Now type mongo.exe

- Now we need to install the simba odbc driver for mongodb
- Download from : http://www.simba.com/connectors/mongodb-odbc
Installation Steps for Simba ODBC Driver
- Double-click the appropriate file. The Simba MongoDB ODBC Driver Setup window opens.
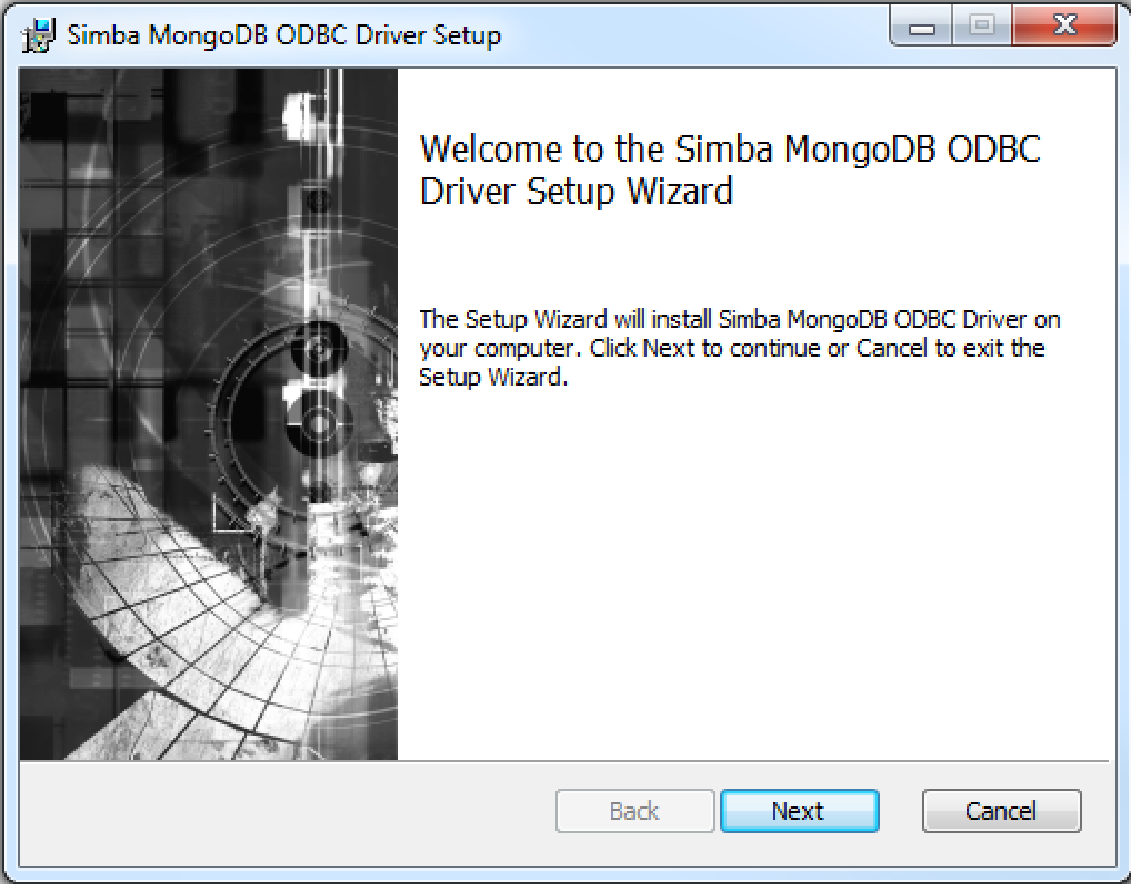
- Click Next. The End-User License Agreement page is displayed.
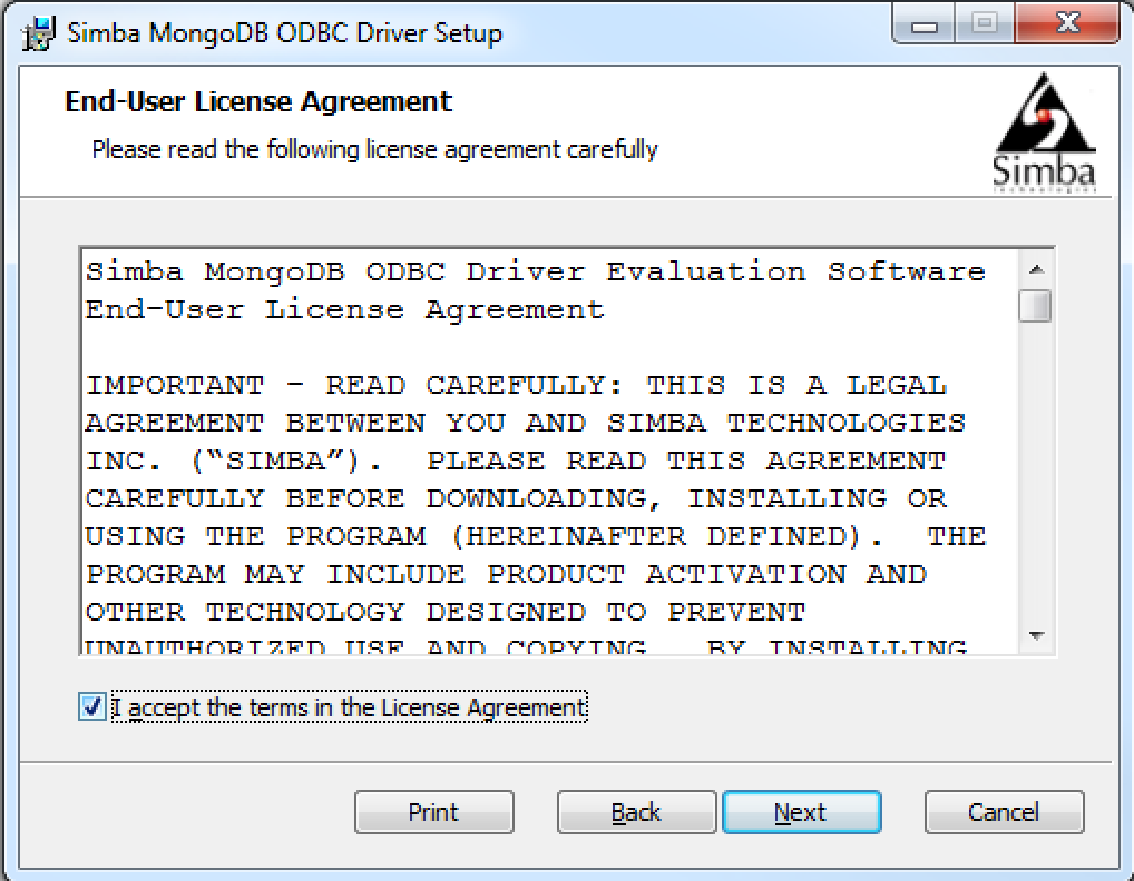
- Select the "I accept the terms in the License Agreement" checkbox and then, click Next.

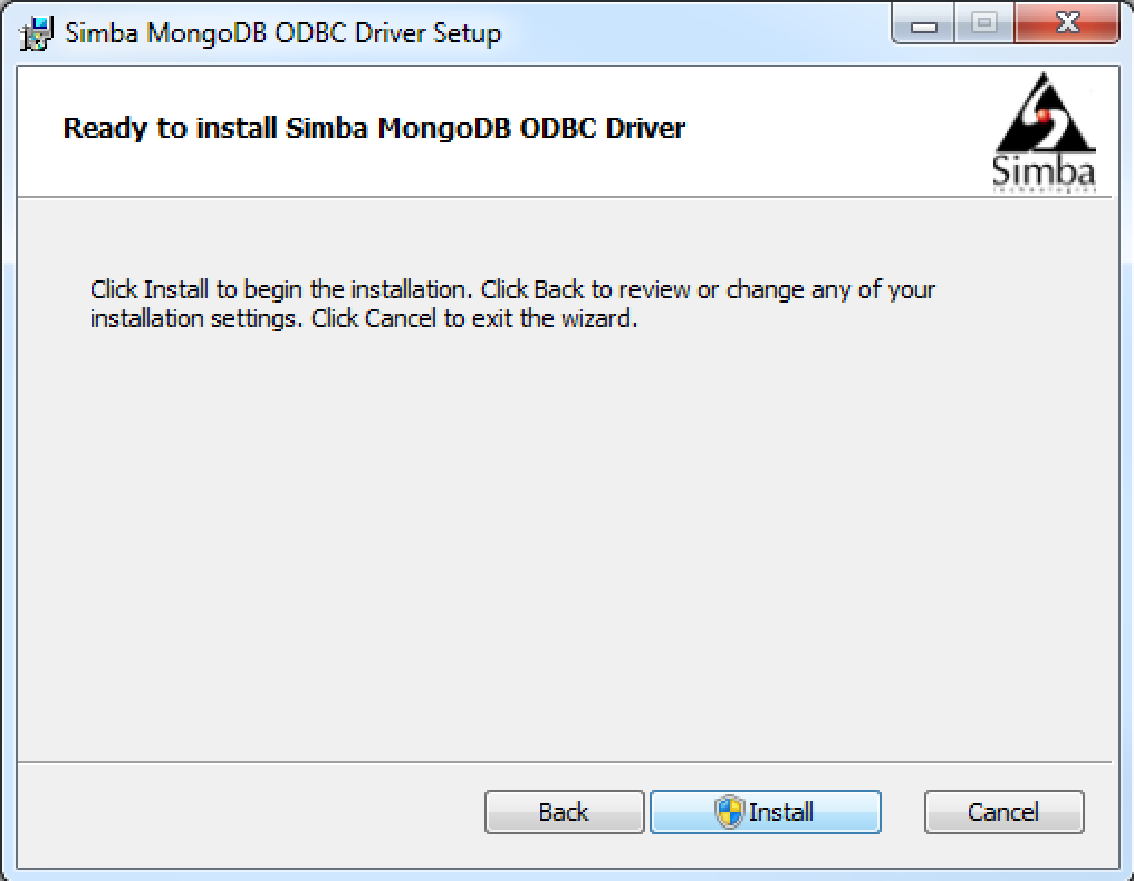
- Click Next. The Ready to install Simba MongoDB ODBC Driver page is displayed.
- Click Install.
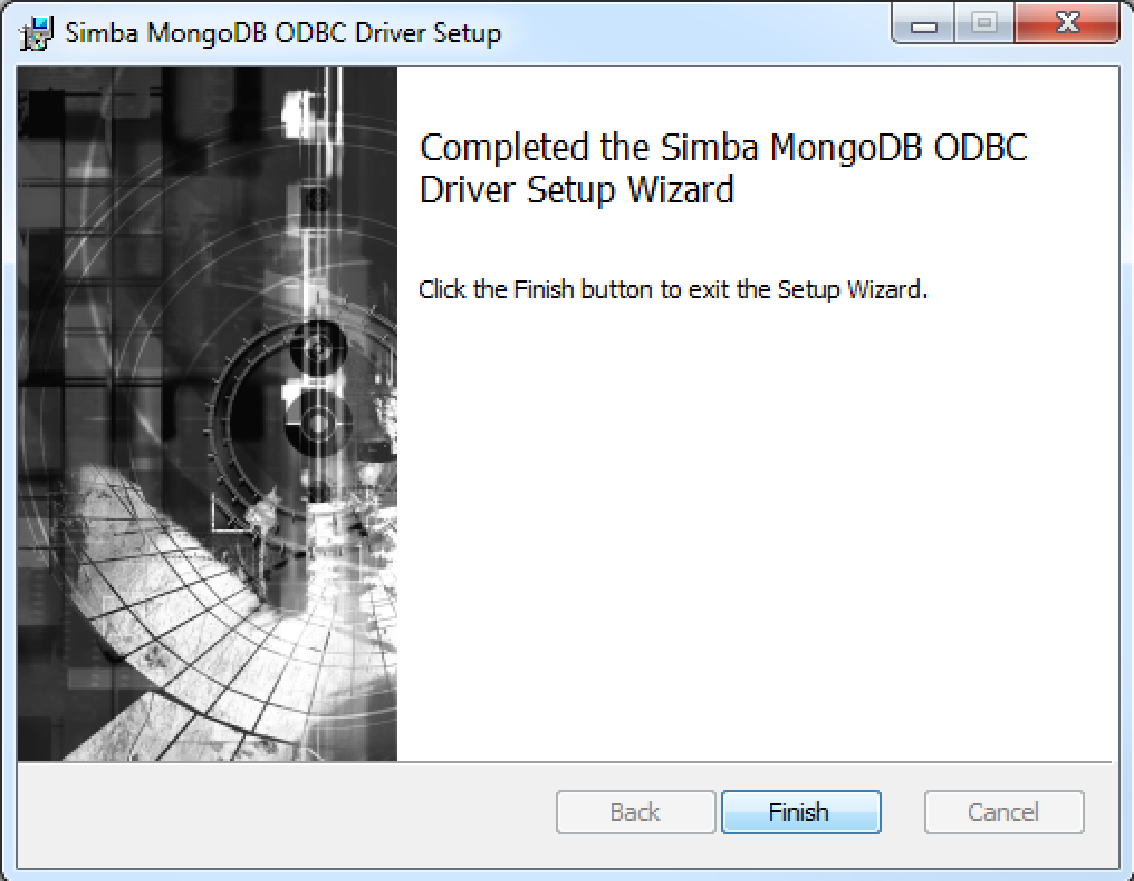
- Click Finish.
The Simba MongoDB ODBC Driver installation is complete. The next step is to create a Data
Create a Data Source Name (DSN)
- Now go to Control panel --> Administrative Tool --> Datasource (ODBC)
- In that go to System DSN tab
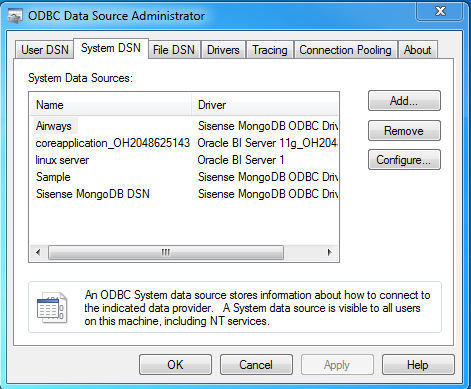
- Click Add. The Create New Data Source window opens.
- Click the Drivers tab and verify that the Simba MongoDB ODBC Driver is displayed in the list of ODBC drivers that are installed on your system.
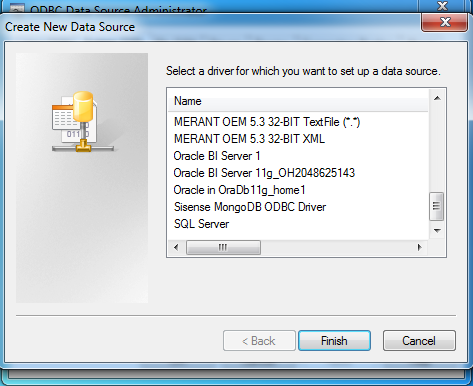
- Select Simba MongoDB ODBC Driver and then click Finish. The Simba MongoDB ODBC Connector Setup window opens
- In the Data Source Name text box, type a name for your DSN.


Connecting Mongodb to OBIEE 11g
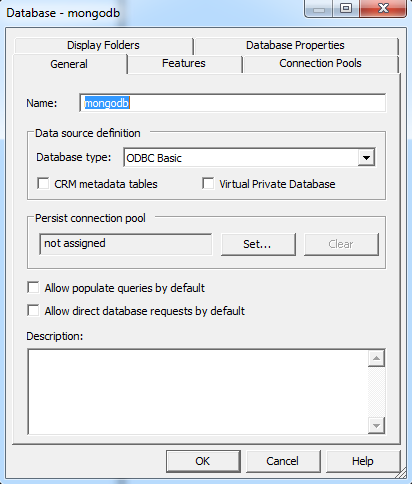
- Now go to obiee11g --> In that select the database as ODBC
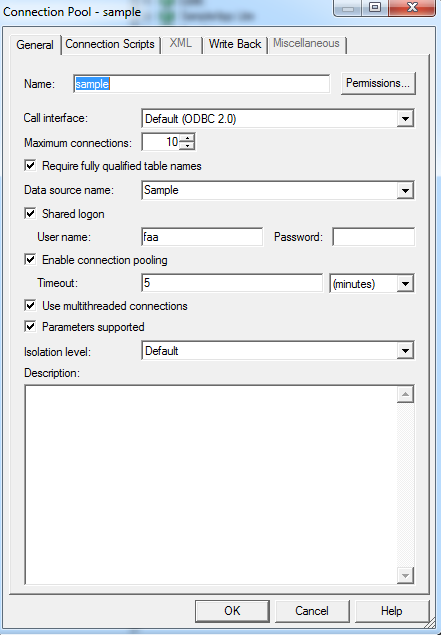
- Create a connection pool for that database
- Now you can Import that tables from Mongodb