
1.Oracle Web Tier contains two main components: Oracle HTTP Server and Oracle Web Cache. Oracle Process Manager and Notification Server (OPMN) is also installed by default. Together, these products are responsible for managing incoming HTTP requests, caching web messages, and sending XML and HTML back to the client.
2.Go to Software Folder then go to Disk 1
3.Double click the setup.


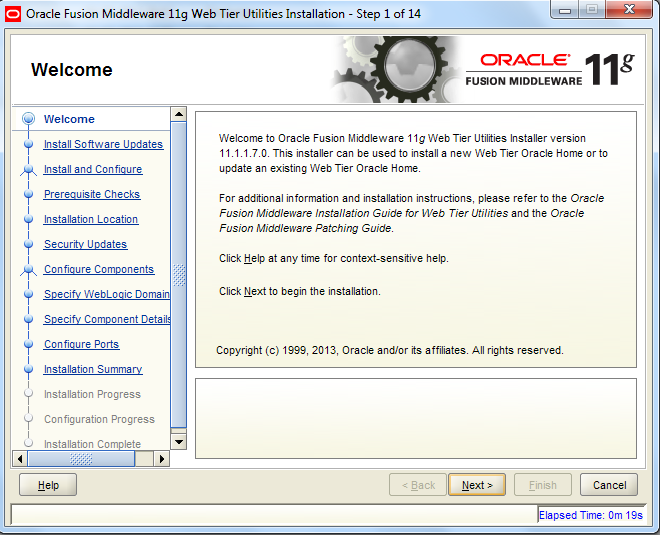
4.Click Next in the Welcome screen
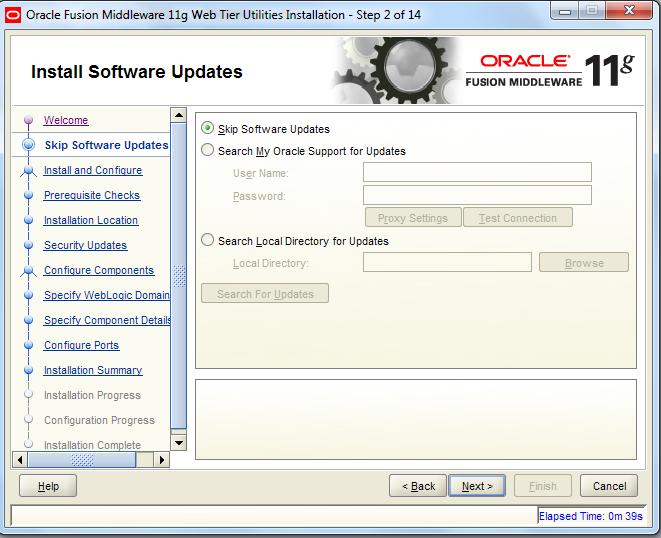
5.Click→Skip Software Updates
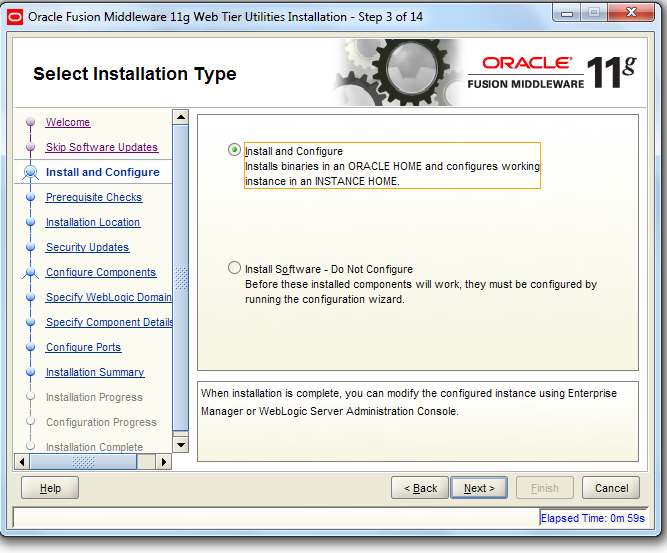
6.Click Install and Configure
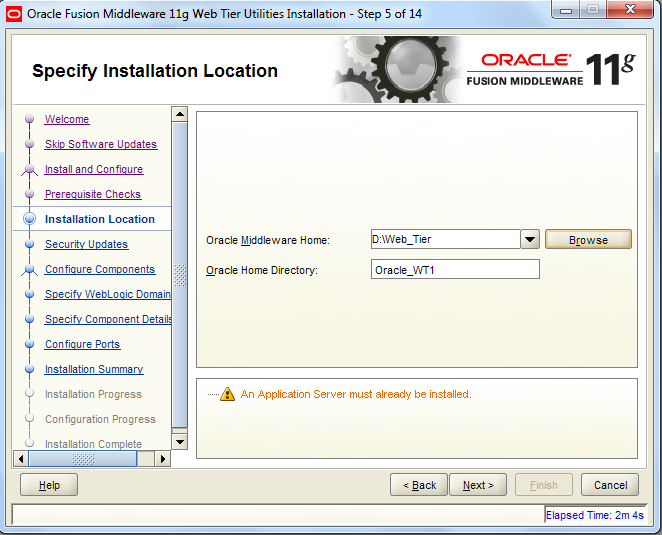
7. The Specify Installation Location screen appears
Where you want to install the products and click Next
8.In the Specify Security Updates screen, deselect "I wish to receive security updates via My Oracle Support" and click Next to continue. Click Yes to confirm.
9.The Configure Components screen shows the products and components that are available for installation and configuration. Oracle Process Manager Notification (OPMN) is configured by default
Select "Associate Selected Components with WebLogic Domain" to make these components available for use by your applications in an existing WebLogic domain. This enables you to manage these components using Enterprise Manager (EM).

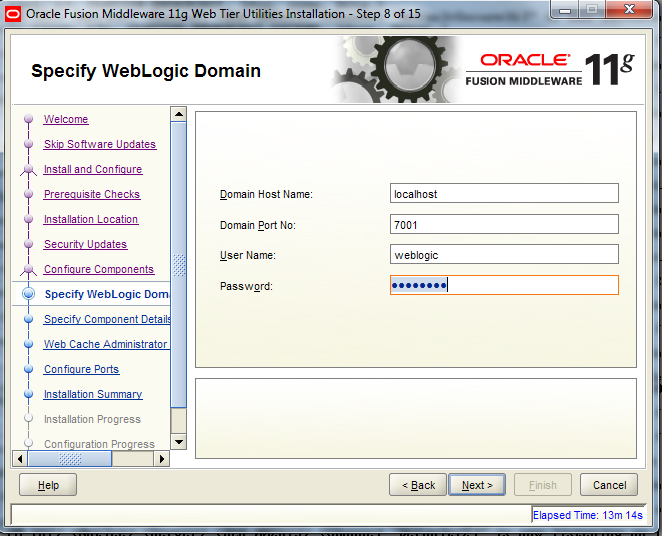
10.Make sure before proceed this step weblogic server is running
Specify WebLogic Domain screen appears if you selected Associate Selected Components with WebLogic Domain in the Configure Components screen.
Enter the credentials for your existing WebLogic Server domain and click Next. For example:
Domain Host Name:localhost
Domain Port Number:7001
User Name:weblogic
Password:Admin123
11.Verify the Oracle Instance location and names for your components and click Next to continue.

12. TheWeb Cache Administrator Password screen appears if you selected Oracle Web Cache in the Configure Components screen. Enter the password for your Oracle Web Cache administrator and click Next to continue
In my Case I given password as Admin123

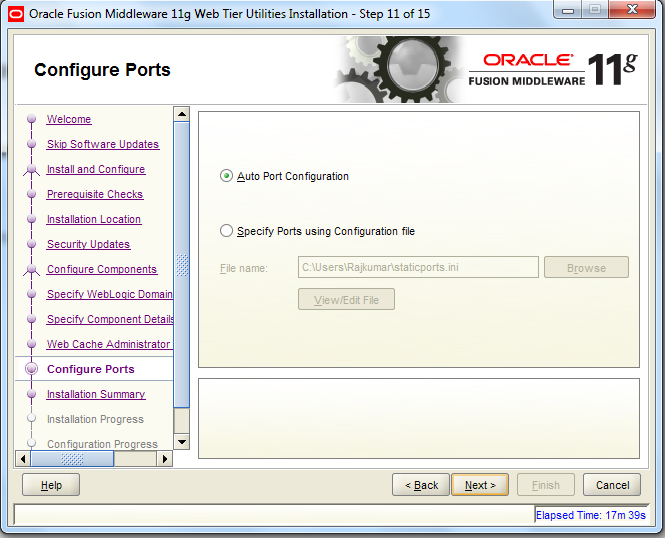
13. Select Auto Port Configuration if you want the installer to automatically assign the default ports to the components and click Next
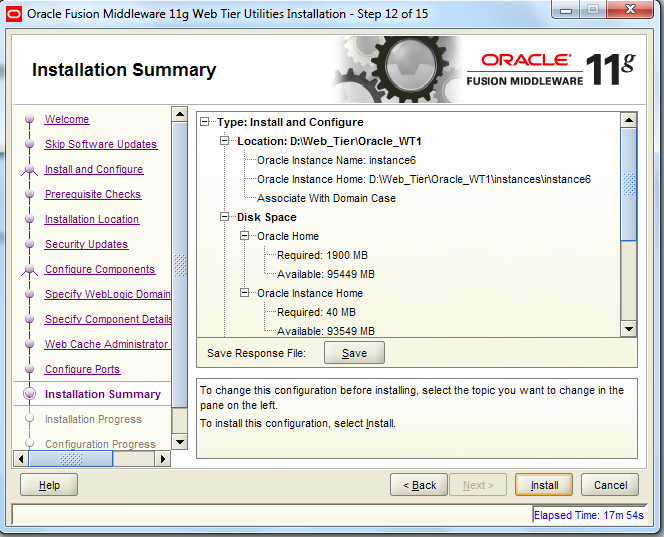
14. In the Installation Summary screen, verify the information and click Configure to begin the installation
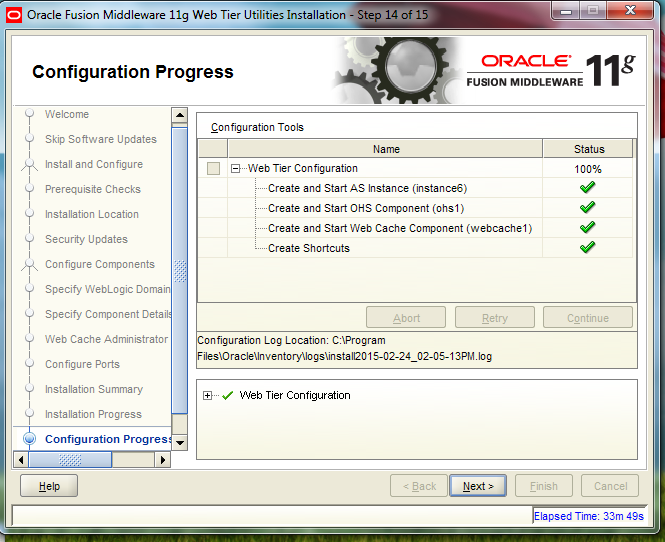
15.This screen shows the progress of the component configuration
15.This screen summarizes the installation that was just completed. Click Finish to complete the installation and exit the installer..
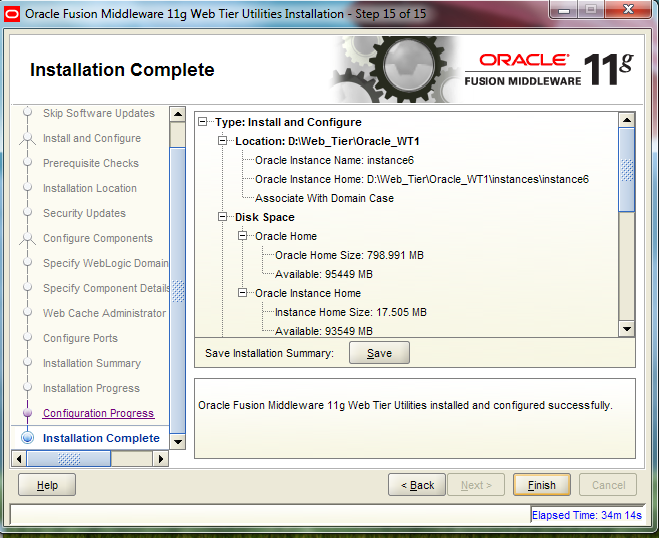
16.Click Finish
... to be continued Navigate to Configure oracle HTTP server in front of Oracle Weblogic Server
... to be continued Navigate to Configure oracle HTTP server in front of Oracle Weblogic Server
The tutorial is very helpful for a first timer like me, by the way if you could have given a
ReplyDeletetutorial on creating a free blog, it would have been very helpful for newbies like me.
click for info