
Loopback Adapter
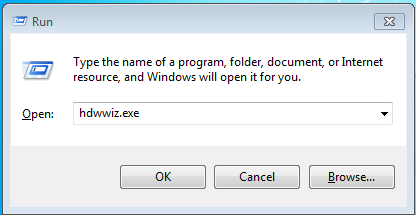
Open the Windows RUN → Type hdwwiz.exe → Click on OK
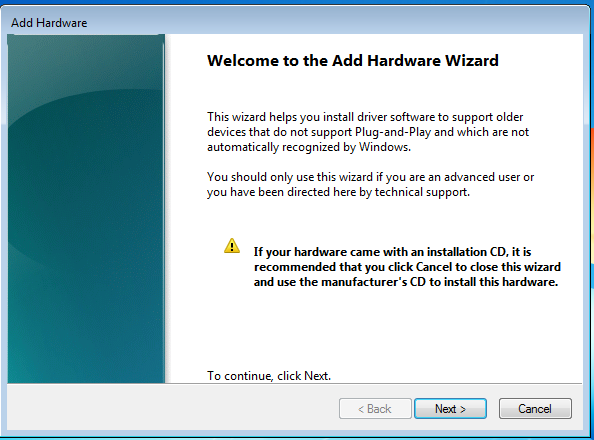
In the Welcome window, click Next
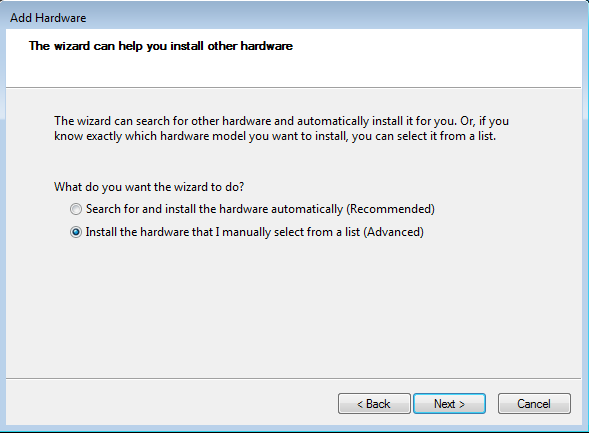
Select --> click Next
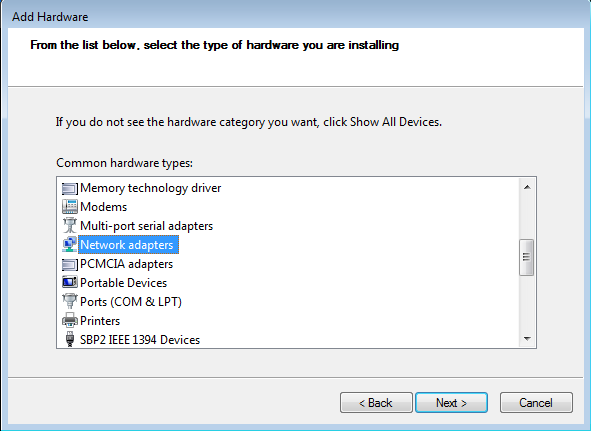
Select Network Adapters → click Next
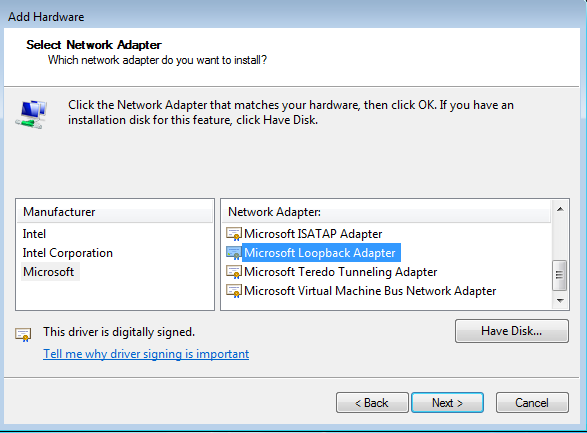
In the Select Network Adapter window, make the following selections:
- Manufacturer: Select Microsoft.
- Network Adapter: Select Microsoft Loopback Adapter
- Click Next
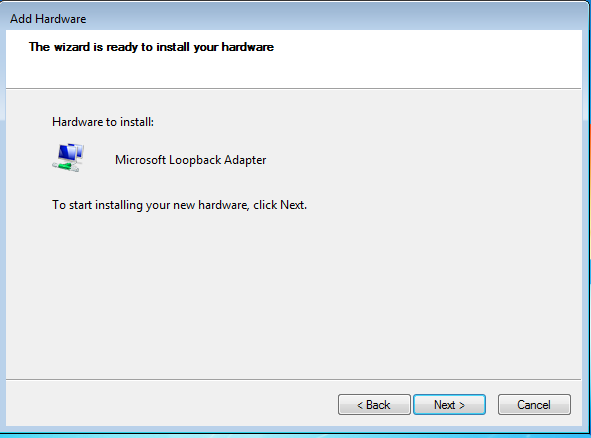
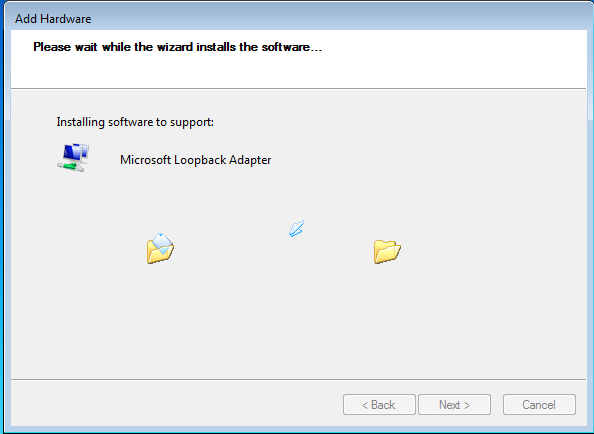
In the window ‘The wizard is ready to install your hardware’ → click Next
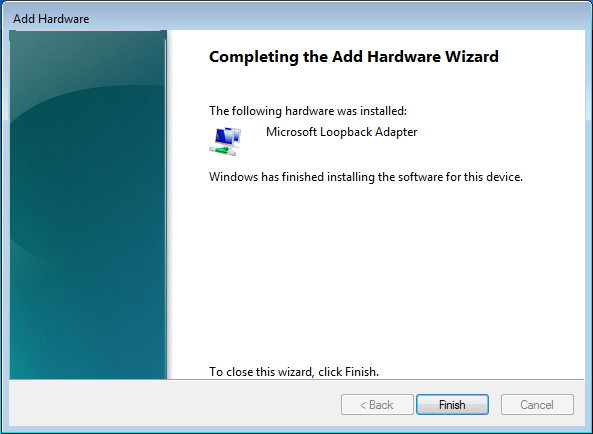
Go to Control Panel\Network and Internet\Network Connections
Right click on Microsoft Loopback Adapter → select Properties
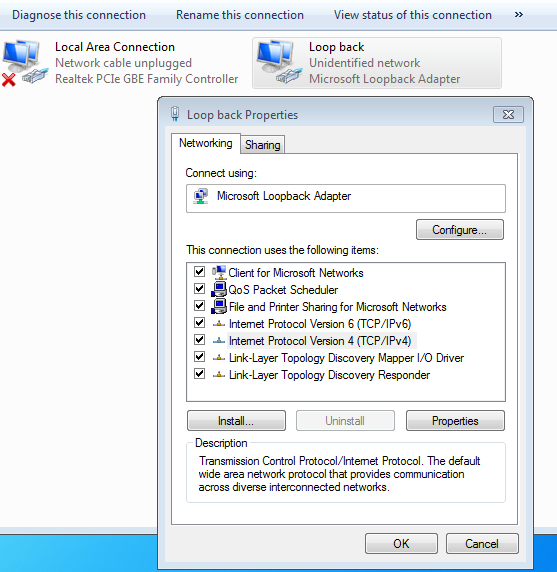
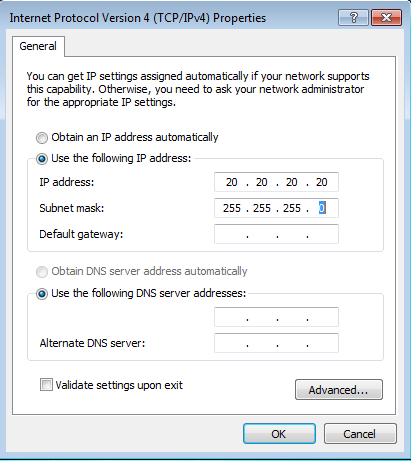
- In the Properties dialog box, click Use the following IP address and do the following:
- IP Address: Enter a non-routable IP for the loopback adapter. Oracle recommends the following non-routable addresses:
- 20.20.20.20
- Subnet mask: Enter 255.255.255.0.
- Leave all other fields empty.
- Click on ok → Close
Go to NotePad Right Click --> Run as Administrator
Go to path C:\Windows\System32\drivers\etc
Open hosts file in notepad and enter below line
 To validate the loopback configuration open a command prompt and enter the following: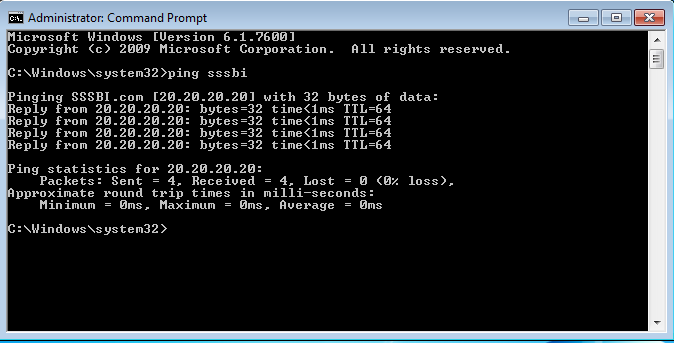
... to be continued Navigate to RCU

Nicely and easily explained. I was trying for hours to install this apps. Always learning something new from your blog.
ReplyDelete